Hello and
welcome to my blog. Having made the wallet featured below for a Claritystamp
show on create and Craft, I was asked by a member from the Clarity Worldwide FB
page how it was made. I decided it was an easier and clearer option to blog a
step by step.
And here it
is!
Wallet Instructions

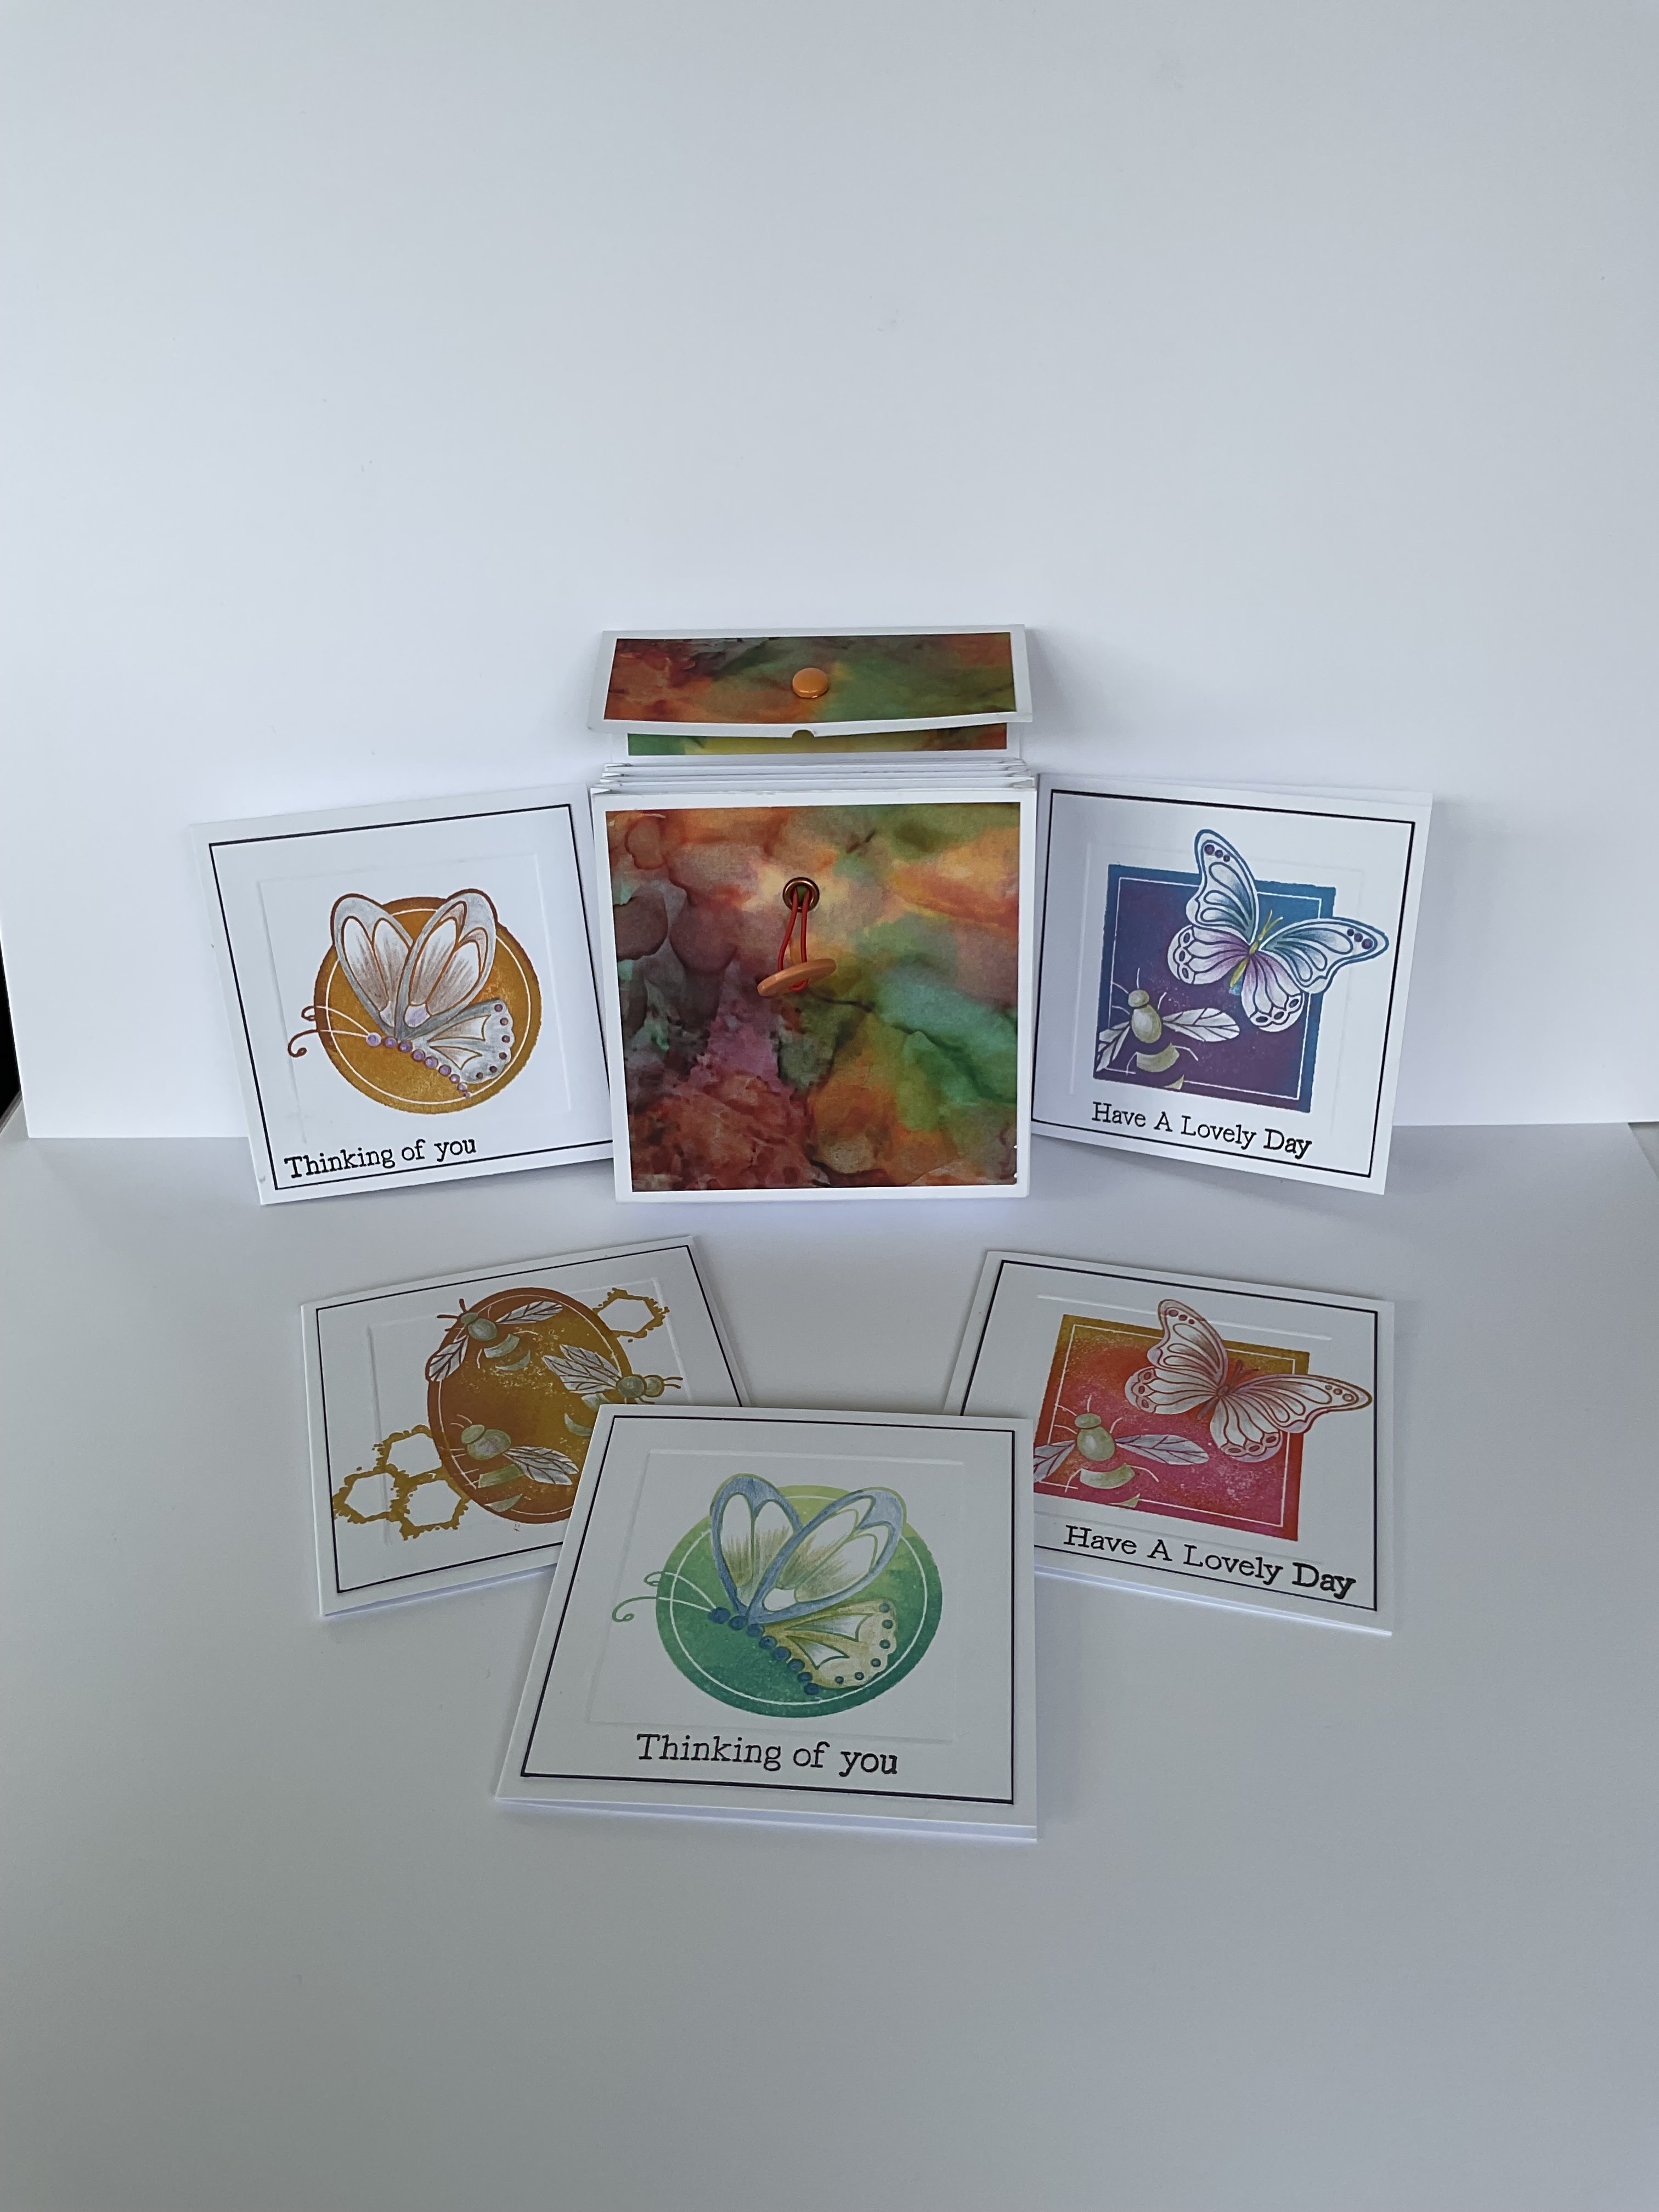
Wallet - in its original form

Wallet – showing the brad, elastic
and button closure
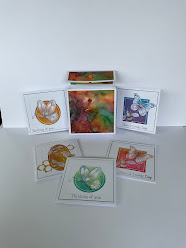
Wallet and its contents
My step by
step version below, made to fit a 4inch by four inch card, chosen to fit the Clarity
3.5 x 3.5 inch stencil card squares.
1)
Wallet
Cover:-
Cut card to
measure 4 ½ ins x 12 ¾ ins. Score and fold at 4 ½, 5 ¾, 10 ¼ , 11 ½ inches. Set
aside.
2)
Wallet
Pockets:-
For each
pocket
Cut strip of
card 4 ½ ins x 11 ½ ins.
Score and
fold at ½, 1, 5 ½, 6, 6 ½, 11 ins.
3)
Trim a
sliver off the tab at the right hand side and add a strip of double sided tape
or wet glue to the inside of this.
4)
Attach the
adhesive tab over the opposite end to create an open ended (top and bottom)
pocket.
Repeat to
make a second pocket as shown below.
5)
5)
To join two
pockets:-
For each
pocket cut two strips measuring 1 ¾ x 4 ½ ins.
Score at
3/8, 7/8, 1 and 3/8 inches. Fold along each score line as shown below.
6)Add
double-sided tape or wet glue to each strip as shown above.
7)
Attach one
strip to left of one pocket and right of second as shown above. Remove the red
liner and attach one side to the other as a second layer. Repeat on the other
side.
This is how
the pair of joined pockets should look.
To attach
the pockets to the cover:-
8)
Make four
strips as in step 5). Attach one to each side as shown below. Line up one edge
of the cover to one of the strips, replicating the folds in each pocket. Repeat
to attach the other side.
9)
Attach final
two strips to each side. Fold up the front cover and line up as before to
attach.
N.B.
I found it
easier to attach the pockets to the wallet back first – the side with the flap.
Completed
wallet with five compartments.
Now to
decorate:-
10)
Cut 3 strips
of Designer Card Antarctica 1ins x 4 ¼ ins and one square measuring 4 ¼ x 4 ¼
ins. The first strip has been attached to the front flap as shown in the photo
above.
11) The
‘closer.’
I chose to
use magnets to close this wallet. The ‘flap’ magnet was firstly attached by a
glue dot to keep it in place. It was then covered by a strip of double-sided
sticky tape. Adhere the second 1” x 4 ¼” strip over magnet.
12)
Attach
second magnet to the first; apply water marker pen to base of second magnet and
fold over wallet front to create an impression on the wallet front.
To secure
second magnet, attach a glue dot or sliver of double sided sticky over the
marked spot and add magnet. Apply low tack tape over magnet and close the flap
to check it is in the correct position.
13)
Secure
double-sided tape over second magnet.
14)
Glue 4 ¼ x 4
¼ ins square in position, adding extra glue over magnet.
. . . And
there we have it, a card wallet and variations on a theme from my first.
N.B. The
wallet dimensions only change with the size of your cards; this was made with a
4” x 4” card in mind to accommodate Clarity’s 3.5 x 3.5 cards matted onto a 4”
x 4” card blank. The width to accommodate pockets only changes with the amount
added – here it remains at 1 ¼ for five pockets.
The original!
Thanks for reading this; I do hope the instructions were useful.
Signing out for now.
Shelagh
'The Making Lady'