Thursday, 1 December 2016

Clarity Challenge 46 Carol Singing and Christmas Joy December 2016

Carol Singing and Christmas Joy!

Hello, good day and welcome! Another year NEARLY over and a new one just about to begin, as I slightly paraphrase John and Yoko! Last Clarity Challenge for 2016!
This month's challenge simply reflects the joy I had in creating a special card for my mum. It has to be 1) easily seen; 2) sit up on the mantle piece without falling down the back - as some of my other fancy fold cards have threatened to do; 3) be colourful and joyful and 4) a bit of a centre piece! With this in mind, I combined both parchment and stamping then threw in some die-cutting for the card base. I did have to be a bit 'creative' when stamping 'Mum' but it worked in the end.
Apologies for not showing a complete 'step by step' but as is almost the norm for me, my inspiration is there, but I have no conviction the idea will work until the project is complete!
What I have found out though, is that Faber Castell 'Albrecht Durer' water-colour pencils work nicely on the reverse of small areas of parchment if blended with a fine, almost-dry paint brush. (I used a size 3 sable mix which can be rolled into a very fine point.)


Materials:-
·         Stamps:- Clarity ‘Merry Christmas,’ Jayne’s Holy and Ivy set (holly leaves and berries)
·         Ink Pads:- Versafine Onyx Black
·         Groovi:-  Jayne’s Holly and Ivy plate (small holly leaf from holly corner), Jayne’s Poinsettia plate, Spring Swirl plate, Nested Circles
·         Dies:- Fancy circles, plain circles
·         Card:- Double-sided Pearlescent
·         Clarity parchment:- white, red, green
·         Miscellaneous:- Faber Castell Polychromos, Faber Castell Albrecht Durer Water Colour pencils, Micron pen - fine

Instructions:-

1.       Fold an A4 piece of pearlescent card and cut a 14cm circular card blank using a plain die.

2.       Open and cut out a central circle using a 12.5cm die on one side only to create a top frame. Score and fold along mid-point.

3.       With a fancy circle die, die-cut two 15cm circles from same pearlescent cardstock as previous and cut a central circle from one using the 12.5cm die. Attach the complete circle to the bottom of the card base and the fancy frame to the top frame.

4.       Cut a 14cm fancy circle, again from pearlescent. Stamp large Merry Christmas onto this circle, heat-set and draw oblique lines with Micron pen. Colour the areas red and green, time about.


5.       For ‘Mum’ – ink the ‘M’ from ‘Merry’ and cover the rest either with sticky notes or low tack tape. Stamp below ‘Christmas.’
For the ‘u’ ink top of ‘y’ from ‘Merry,’ cover the rest with clean sticky notes or low tack tape and stamp as near to ‘M’ as possible.
For the ‘m,’ ink the ‘M’ in ‘Christmas,’ again covering surrounding letters with stickies or low tack. Stamp next to ‘u.’
6.       As before, draw oblique lines with a Micron pen and colour.
7.       Stamp holly leaves and berries; colour with Polychromos; decoupage and layer with foam pads. Set aside. (Card stopper.)
Poinsettia

8.       Emboss all the layered poinsettia components from Poinsettia plate – four in total – on red parchment, pierce with a two needle tool and cut to produce a picot edge.
9.       Emboss largest image on green; pierce and picot as above.
10.   Shape each layer slightly and fix all together with a brad of choice.
Circlets:-

11.   On white parchment, emboss largest and third largest rings. Using a variety of small holly leaves from Holly and Ivy plate, emboss a design around this circlet. Emboss berries to suit.  On this same side of parchment, lightly colour with water colour pencils. Taking a fine, almost dry paintbrush, work the colour to the edge of each leaf and berry. Pierce and picot inside and outside of circles.
12.   On another sheet of white parchment, emboss largest and fourth largest circles. Emboss a pattern from the Spring Swirl plate around ring and colour with lighter green water colour pencils using technique as previously explained.
13.   Pierce and picot inside and outside circles.
To construct:-

14.   Attach wider circlet to top frame; add holly circlet.
15.   Attach poinsettia to suit.

16.   Attach decoupaged holly for back-stop but check card opens and sits correctly.
17.   Add tiny dots using the Micron pen around the circumference of each fancy circle to suit.
(Throughout I used pieces of Craft Dots for the parchment work and wet glue for the card.)
Et voila! A little bit of Christmas joy for my beloved mum!

To join in Clarity Challenge 46 - last for 2016 - you may do so from the link on claritystampchallenge.blogspot.co.uk or email your themed project to claritystampchallenge@hotmail.com Why not have a go? Nothing ventured, nothing gained as the old proverb goes AND you may just gain a £50 voucher to spend on the Clarity website. Hope to see you soon.
Best wishes,
Shelagh


Sunday, 13 November 2016

Indigoblu Challenge October 2016

October 2016
'One Stamp, One Colour!'
I was very pleased to have been chosen as one of last month's 'Top Three' so many thanks to the Design Team. Although a lifelong 'monochrome' fanatic (my wardrobe largely comprises black and white,) I have taken a different path and used Sepia tones as detailed below. 
*Above is my contribution to the 'Monochrome' challenge using Indigoblu A6 'Stylised Flowers' and Ranger Distress 'Tea Dye' although the background was made on the Gelli plate using Mini Distress Antique Linen and Old Paper.

*For the background, the Gelli was inked with Old Paper and Antique Linen then blotted with a piece of newsprint paper in places (I prefer it as it is more absorbent than copy paper) before placing over a piece of white 7ins x 7ins card, smoothing over the back of this, then peeling off to reveal a mottled background. the card was trimmed to remove the white edges.

*The Flower stamp was then inked up with Tea Dye and stamped onto the prepared background once, twice and a third time BUT without re-inking. 

Second example ONLY using Tea Dye

*The central flower was inked and stamped around the edge of the second card, again without re-inking apart from at each corner. Each piece of card was edged with an alcohol marker, gems added then the smaller mounted on top of the larger piece. 


*Attach to card blanks.

Et voila! . . . . . and here we have 'One Stamp, One Colour!'

Saturday, 12 November 2016

Chocolate Baroque Challenge October 2016

October 2016
'Taking the Plunge'
 Hello and thank you for popping in. It was such a thrill to be chosen as last month's winner. Lucky me - particularly as it was a very late effort compared to usual!
Above is my entry for this month's Chocolate Baroque Challenge. 
*The stamp sets used were from two different sets of Chocolate Baroque Oriental clear stamps which I have had for some time and I felt they fitted the colour scheme nicely! 
*The inked background was done on a Gelli plate which was firstly daubed with Mini Ranger Distress 'Mermaid Lagoon,'Peacock Feathers' and 'Twisted Citron - in that order and top to bottom;' a piece of scrunched-up newsprint paper was then dabbed over this to create a background texture. A 'sticky-note' circle was placed as a moon mask then a print was 'pulled' onto a piece of 7ins x 7ins white card. 
*The stamped images were arranged and stamped accordingly using Versafine Onyx Black then coloured with Faber Castell Polychromo pencils before a moon was added using a foam blending spot and Distress 'Fossilised Amber.' I added a scribbly border with a Micron pen and finished off by edging the card with an alcohol marker before adding Mr Frog to the bottom right-hand corner.
No 3D additions this month - well - there's a first!!!

Et voila! - and here we have 'Taking the Plunge!'

Tuesday, 1 November 2016

Clarity Challenge 45 November 2016 'Blast from the Past'

Clarity Challenge 45
November 2016
Blast from the Past
'Boys, Boys, Boys!'  June 2015


Hello everyone - here are the photos for my next blog which was originally meant as my mid-month post and designed as a request for a friend's son. Explanation will follow later as there are quite a few measurements to list, particularly for the football pitch. Meantime - watch this space!!!

Back soon!!!


The Football Pitch:-


1. On scrap card/paper draw a rectangle 8 inches by 5 and 1/2 inches. 
2. Measure and mark 1 and 3/8 inches from each corner of a short side.
3. Measure and mark 1 and 3/8 inches vertically and join together to form the penalty box. 
4. Repeat on other short side.


5. Place A5 parchment over the card and trace the drawn lines. 
6. To form the centre circle and penalty arcs, place the Nested Groovi circle in the centre of the parchment and trace the circle FIVE from the centre. Use the same circle to create the penalty arcs.(N.B. I turned the Circles plate wrong side up to prevent puncturing the parchment.)
7. Using this parchment sheet as a template, place it under the Groovi Plate Mate, insert the Nested Squares and emboss the football pitch on A5 sheet of green parchment. Set aside.

For the Football Net:-
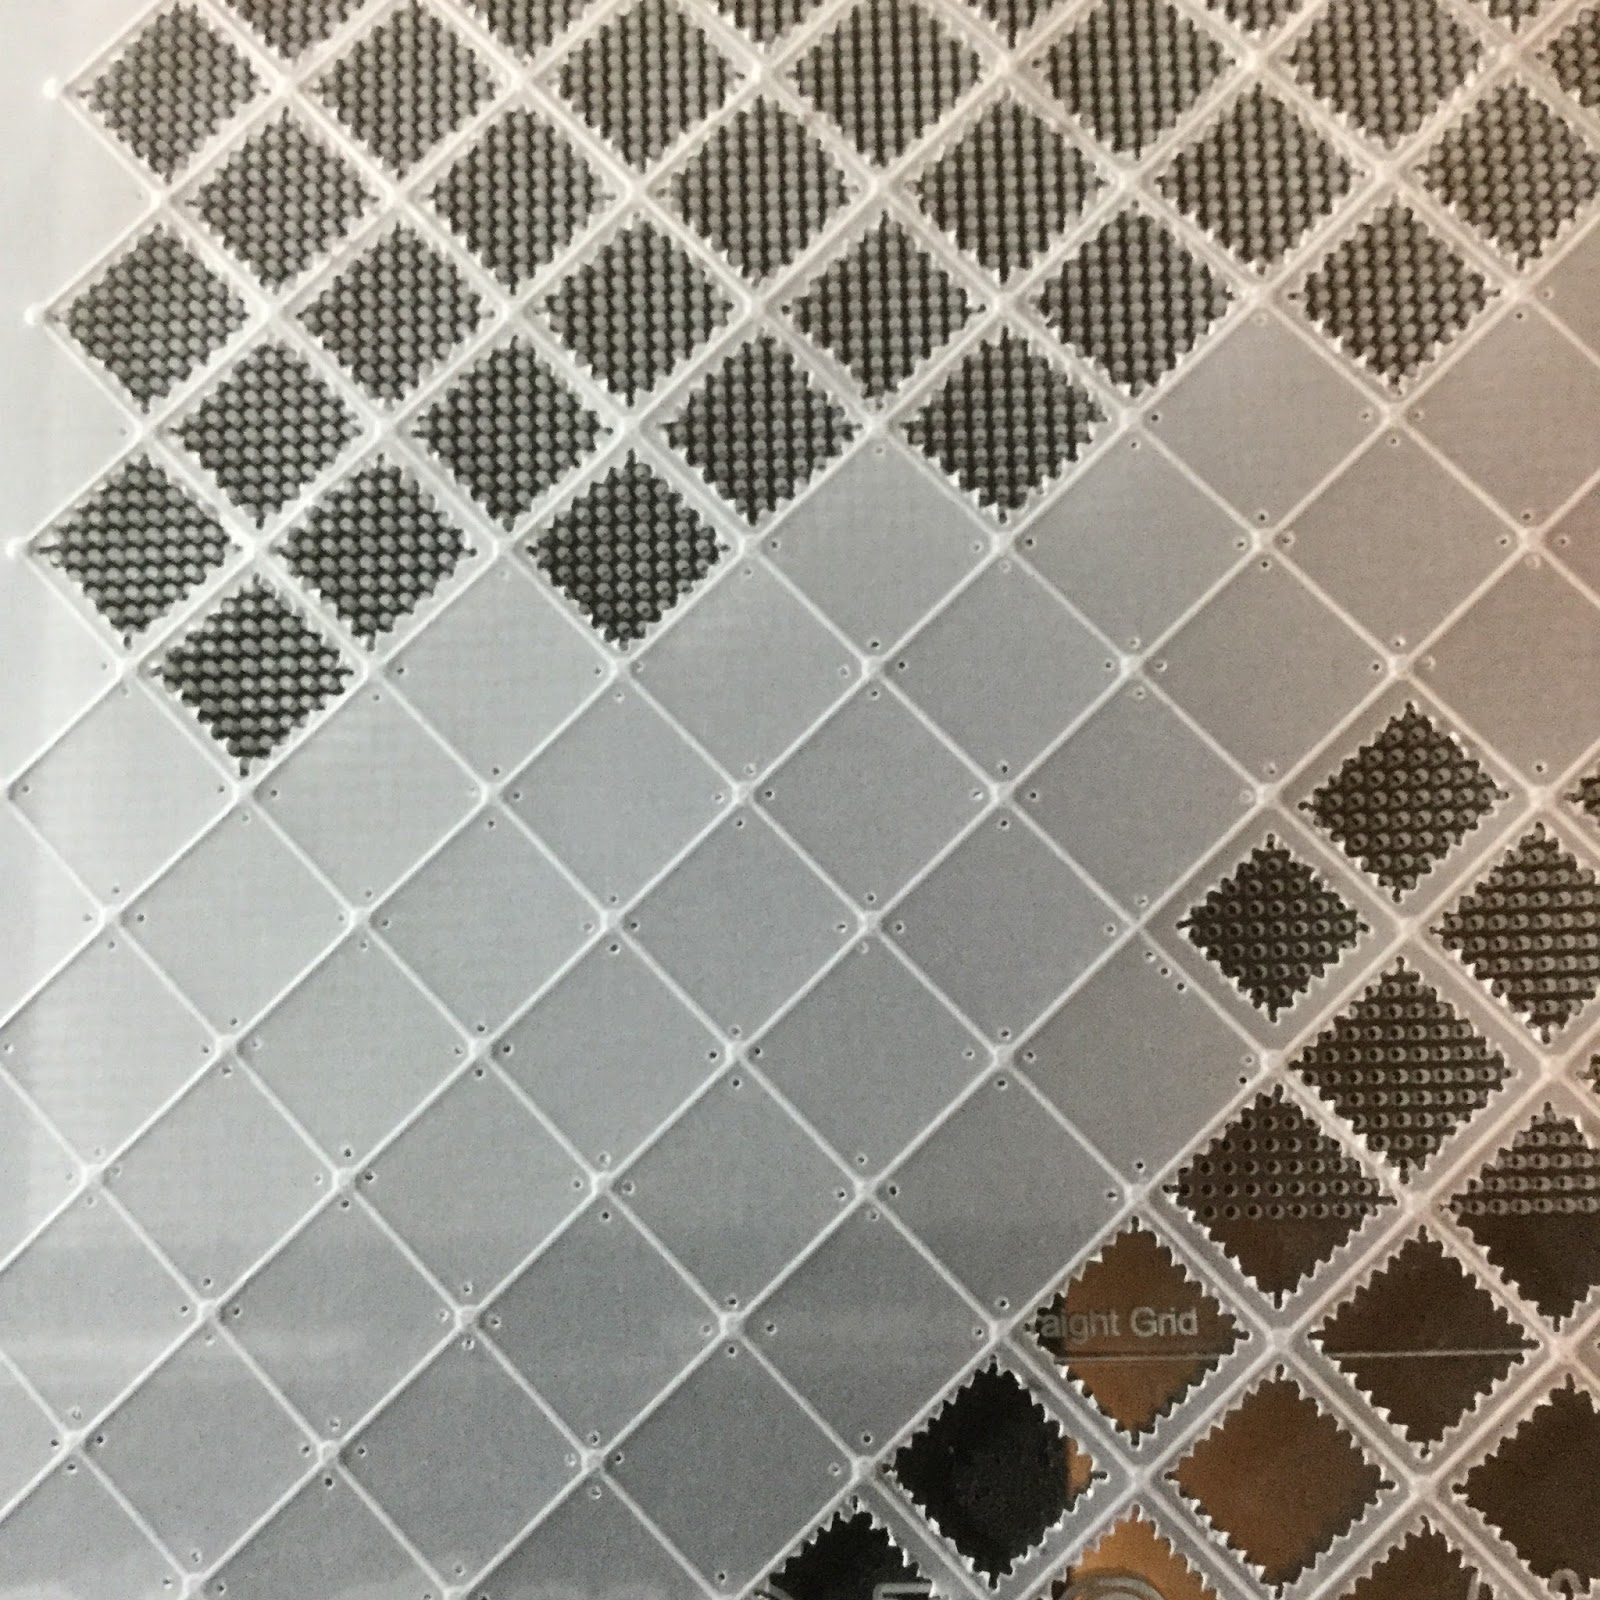
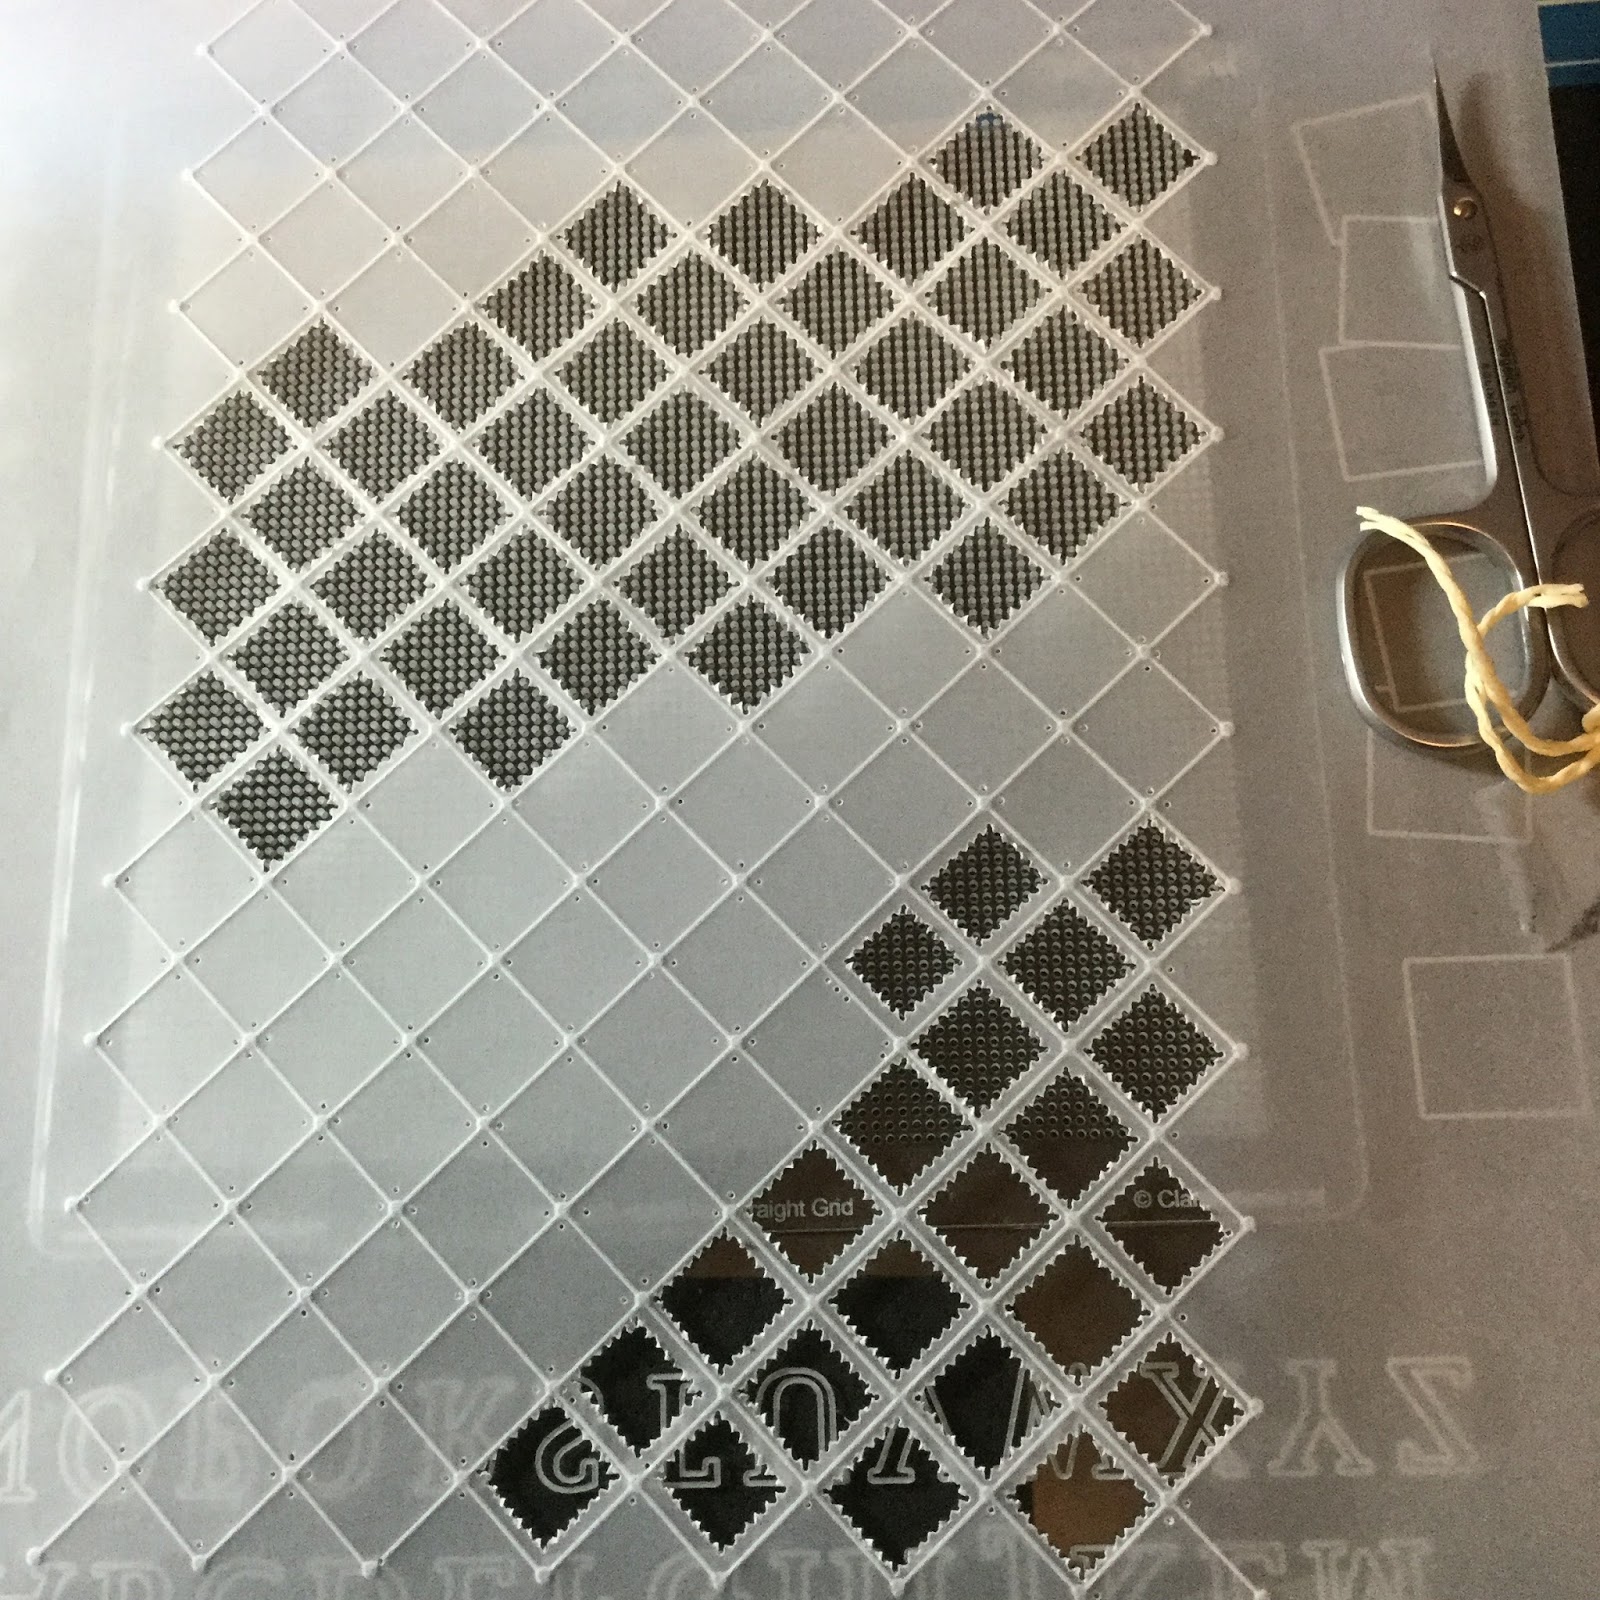
1. Secure an A4 sheet of white parchment over the Plate Mate and the Netting plate and emboss to cover an area large enough to cover the football pitch with an extra margin around the edges.
2. Place the Straight Piercing Grid into the Plate Mate. Using the Clarity single needle tool, pierce each corner of each embossed square as shown above. 
3. Using the Twin Needle tool, pierce along each embossed line as shown both above and below. 

4. Cut into each square to create a picot edge on each side of each square. 


To form the card:-
1. Create a tent-shaped card with mountain fold at the front and an aperture in the centre - the aperture being large enough to expose the football pitch. 
2. Attach the net over the football pitch (I used narrow red liner tape) and in turn, attach this to the reverse of the card aperture.
3. Stamp the football repeatedly to make a three borders, single footballs to decorate the top and colour with Polychromos. Cut out and attach to cards. 
4. Stamp and cut out football images and attach to suit. 

As this card was a request from friends for their son, there is a personal message on the reverse. The subject matter was also requested, as were the team colours.

Thank you for looking!!

Remember the Clarity Challenge!


Clarity Challenge 45 November 2016 'Blast from the Past'

Clarity Challenge 45 November 2016
Blast from the Past
 Bingo July 2015 – straight line using stamps, stencils, grunge paste
‘Noteworthy’

Hello and welcome once again to the Clarity Challenge. In this one 'Blast from the Past,' you have the freedom of choice to revisit a theme from times past. My first choice is a great favourite of mine - 'Bingo' from July 2015 where from a selection of nine items, a choice of straight line, diagonal, four corners or full house from the following items :-

FLOWERS           GILDING FLAKES           SHRINK PLASTIC
                               STENCIL                    STAMP                   GRUNGE PASTE
                          PERFECT PEARLS        DIES                     GLITTER
The first time round, it had to be a 'Full House' 
'Medusa' from July 2015

but this time I was a bit more circumspect and opted for the middle line - Stencil, Stamp and Grunge Paste. 
'Noteworthy' November 2016

Every year I make little Christmas gifts for my mum's many carers and attendants and this year's offering is the 'Noteworthy' note book; below you'll find details of how I went about making them. 
Now it's over to you and your creative mind!
Looking forward to your projects over the next thirty days!
Best wishes,
Shelagh
'The Making Lady.'

Materials:-
·         Stamps :- Clarity - Wee Folk 3 Fairies, NDC Unicorn
·         Stencils :- Clarity - Oriental Lattice, NDC Twin Trees, Wild Grasses1
·         Cardstock :- Double sided pearlescent card, black matte, Clarity white 7x7 stencil card
·         Inkpads :- Ranger Distress Hickory Smoke, Evergreen Bough, Squeezed Lemonade, Black Soot, Iced Spruce, Old Paper, Ground Espresso; Staz-on Black
·         Mask :- Clarity moon
·         Miscellaneous :- Matte varnish, Spectrum Noir Sparkle pen – clear, Polychromo pencils, modelling paste, silver gilding wax, Goosebumps – sparkling, Alcohol pen, Silver pen, red liner double-side sticky tape.
Instructions :-

Notebook Cover

1.       Cut pearlescent card to measure 8.5 ins x 6 ins .and score at 4ins and 4.5ins along the long side. Round the corners if desired.
2.       Tape Oriental Lattice stencil over this and blend Hickory Smoke all over, moving stencil to fit the pattern and fill the card. Blend some Evergreen Bough around the edge followed by a light dusting of Black Soot.

3.       Turn over and repeat (2) with Hickory Smoke and Iced Spruce.
4.       Spray each side with matte varnish allowing each to dry in between – this seals the ink on the pearlescent card.

Outside Decoration
1.       Cut white stencil card to 3.25 ins x 5.25 ins, secure tree ‘outie’ stencil over to suit and blend over Iced Spruce.
2.       Remove stencil and place moon mask to suit. Tape over tree ‘innie’ and sweep Squeezed Lemonade around circumference.
3.       Stamp fairy onto bough with Staz-on Black and Unicorn in bottom right corner.
4.       Shade with Polychromos and add Sparkle.
5.       Edge with toning alcohol pen, mount onto silver edged card and attach to front cover.

Inside Cover
1.       Cut a strip of card 5 ins x 0.5 ins and score at 2ins, 2.5ins, 3ins. Apply double-sided red liner tape to areas 0-2ins and 3-5ins. Fold to make an inverted ‘V’ at the scores and attach over middle folds of inside cover. (This is the pen holder.)
This is not the actual but a trial with paste and glitter.

2.       Tape Wild Grasses stencil over 3.5 ins x 5.5 ins matte black card. Spread over modelling paste, remove stencil and wash immediately and set card aside to dry.
3.       When dry, apply black gesso and leave to dry again.
4.       Spray over Goosebumps and allow to dry.
5.       Replace stencil and dab over silver gilding paste. (I like Pebeo – it is easy to apply.)
6.       Edge card with silver pen and attach to inside front cover.


7.       Edge another piece of black 3.5ins x 5.5ins and attach notepad 
Et voila - 'Noteworthy!'


To join the Clarity Challenge this month :- 
1.choose a theme from the past, 
2. create a project using Clarity stamps, stencils or Groovi plates, 
3. photograph project 
4. either upload to own blog and link to Clarity Challenge or email to claritystampchallenge@hotmail.com
. . . . And that's it! You may be the lucky recipient of the randomly awarded £50 Clarity voucher.
Best wishes,
Shelagh
P.S.
Hope to see you soon. I'm off to complete my mid-month example. Now I wonder which 'Blast from the Past' I've chosen for it? I'l give you a clue - it was one I had real difficulty with!!!!
shelaghscraftyconcepts.blogspot.co.uk

Tuesday, 18 October 2016

Chocolate Baroque September Challenge 'Winter Flora'

September 2016
‘Winter Flora’
Hello and welcome!
Here is my Chocolate Baroque September Challenge entry - a bit late or 'tail-end Charlie' as my mum would say but I've been trying to get ahead of myself with all my Christmas makes - cards for Mum-in-law, Sister, Mum, Mum's carers' gifts and all in that order. I made the card below yesterday afternoon and I must say I'm quite pleased with it. The beautiful holly frond/flourish was so beautiful to work with and deserved pride of place and yes! I've managed to include my trademark 3D element! I also liked the water-colour effect on the poinsettia as it offers a contrast to the crisp holly images and ties the scrunched inky background in. Have a sneaky suspicion that this card will be replicated as our cards for this year as I quite fancy trying it out in white/grey/silver - what do you think?


Materials:-
·         Stamps:- Chocolate Baroque – Large holly flourish from ‘Christmas Flourish’ set, Large and small poinsettia from Steampunk Christmas
·         Inkpads:- Ranger Distress - Evergreen Bough, Peacock Feathers; Memento – Bahama Blue; Stampin’ Up – Pacific Point
·         Cardstock :– White card blank – 8ins x 8ins; white squares – 1x 7insx7ins, 1x5.5insx5.5ins; white offcuts; ice-blue mirror card
·         Gelli plate – 6insx6ins
·         Miscellaneous – Glue pen; Nuvo glitter - white, peacock, turquoise, dark turquoise alcohol marker


Instructions:-
1.       Using sticky notes, cut a few circle masks of 2ins diameter and place in centre of 7x7 square. Ink large flourish with Bahama Blue and stamp at each corner. Edge each side with alcohol marker.
2.       Mount onto ice-blue mirror card, attach to 8x8 card blank and set aside.
3.       Onto the gelli plate, dab Evergreen Bough and Peacock Feathers all over. Scrunch a piece of copy paper and blot all over inked Gelli plate. Place 5.5x5.5 card over and ‘pull’ a print. Place another circle mask in centre of print and stamp large holly flourish – again using Bahama Blue.
4.       Outline ‘swirly’ lines with glue pen, then sprinkle over turquoise glitter. Edge each side with alcohol marker. Attach to base card (1) at an angle and set aside.
5.       On white off cuts, stamp large poinsettia three times and small one twice. Leave one large poinsettia aside and with a damp paintbrush, ‘pull’ colour from stamped images towards centre of all four flowers. (2 large and 2 small.) Cut out.
6.       Outline swirls – when dry - with glue pen and add white glitter. Form into a poinsettia flower and attach to centre of base card. Cut three petals from remaining poinsettia and add to flower as leaves.

Et voila – ‘Winter Flora’ - my contribution to this month’s Chocolate Baroque challenge!
Please have a look below at my batch cards – also achieved using two Chocolate Baroque stamps and the same background formula!
Chocolate Baroque September 2016 Challenge


Saturday, 15 October 2016

'A Cube for All Seasons'

October 2016
'Circles and Squares'
Mid-month

My second 'make' for this month's Clarity Challenge!
Materials:-
  • Cardstock:- White 
  • Stamps:- Clarity - Butterfly Tree
  • Inkpads;- Ranger Distress - Weathered Wood, Peeled Paint, Broken China, Mustard Seed, Spiced Marmalade, Vintage Photo, Stormy Sky; Archival Black; Encore Silver. 
  • Miscellaneous:- Photocube, Moon mask, glue pen; glitter - clear, lilac, purple, yellow/gold mix, orange/gold, chocolate; Micron pen, Sharpie - black, chalk pen;

Instructions:-
  1. Cut five squares of white card to fit each visible side of glass cube.
  2. Place moon mask in position. Stamp Butterfly Tree on four squares using Archival Black.
  3. Blend over seasonal coloured inks.
  4. Add coloured glitter to each season.
  5. Stamp and mask medium butterfly four times on last square, using suitable seasonal colours. Using sticky notes with ripped edges, mask a triangle and blend over colours to match the season. Repeat on remaining three sides. Remove moon mask. 
  6. Ink small butterfly area of Butterfly Tree and WITHOUT using a stamp block or mount, press onto gaps as seen in photograph. Draw an irregular Micron line to demarcate each triangle. 
  7. Add 'snow' with a chalk pen to Winter.
. . . . . And here we have 'A Cube for all Seasons!'

Best wishes in the 'Circles or Squares' challenge!


Saturday, 1 October 2016

'A Scene for All Seasons!'


Clarity Challenge 44
October 2016
Circles or Squares
'A Scene for All Seasons.'

Hi there and welcome to October's blog. I cannot quite get to grips with the fact that we are now entering into the second month of Autumn - the trees and shrubs are still of green leaf, the grass is still growing and it is still mild enough for sandals! A bit of a difference from my visit to Aberdeen, in October, twenty three years ago, mainly to check out the house my husband had just bought (it was only built to the ground-floor windows!!!) as the city was at a standstill - so much so that we touched down with five minutes to spare having circled the airport for over an hour. (The airport closed at 22.30 in those days.) The reason - a snowstorm; oh and it was Friday 13th! I'd left Bath, after a day's teaching, 'coated and booted' for slighter colder weather and felt quite OTT when fellow passengers got on the plane in short-sleeved shirts and t-shirts. I had the last laugh!
Hope you like my seasonal take on this month's 'make.'
Best wishes,
Shelagh


Materials:-
·         Cardstock:- white
·         Stamps:- Clarity – Wee Folk 1, Wee Folk 2, Wee Folk Elves (flower stalk only), Wee Country Animals, Seasons Words
·         Gelli plate/ Gel Press (6ins x 6ins) and Mega Mount
·         Inkpads:- Ranger Distress – Spring - Squeezed Lemonade, Peeled Paint, Weathered Wood; Summer – Shabby Shutters, Mowed Lawn, Peacock Feathers, Salty Ocean, Broken China; Autumn – Mustard Seed, Wild Honey, Spiced Marmalade, Ripe Persimmon; Winter – Squeezed Lemonade, Iced Spruce, Weathered Wood; Archival Jet Black.
·         Dies:- Plain circles of four sizes; scalloped circles of four sizes
·         Miscellaneous:-  Cropodile or similar; Brads – toning colours; glue pen; clear glitter; copy paper

Instructions:-
(These are my practice circles and not the actuals.)

1.      Die-cut four different sized circles and corresponding scalloped circles from white card.

Spring – smallest circle and scalloped circle
2.       Onto Gelli Plate/Gel Press, randomly dab the three listed spring colours ensuring the yellow is in an appropriate place for the sun. Scrunch up a piece of copy paper and dab over Gelli to remove areas of paint. Place smallest circle over and pull a print. Repeat with scalloped circle and onto this, stamp ‘Spring’ using Black Archival followed by couple. Stamp a bower of flowers  around, again with Black Archival. Set aside.
Summer
3.       Spritz Gelli with water and dry with paper towel. Place sun mask onto plate then randomly dab Summer colours over the plain and scalloped circles as detailed above but concentrating blue at top half and green at foot. Add sun. Repeat the scrunched paper technique. Stamp tree branches at each side then add Wee Folk figures. Stamp ‘Summer’ between.
Autumn
4.       Clean Gelli as in 3) and dab Autumn colours( but NOT Ripe Persimmon) as before onto plain and scalloped circles. Stamp Autumn then Wee Folk figures. Add grasses et cetera to suit. Ink a foam spot with Ripe Persimmon and add to scene as a harvest sun.
Winter
5.       Clean Gelli and dab with Winter colours. Tear a landscape from copy paper and apply half-way down Gelli. Ad sun mask. Place over largest scalloped circle and pull print. Remove copy paper and re-ink Gelli plate, remove ink with scrunched paper, place largest plain circle over and pull print. Add Squeezed Lemonade for sun. Stamp a winter scene with Wee Folk then add ‘Winter’ word. Create a winter landscape using glue and gliter.
Add glue and glitter around circumference of all scalloped edged circles.
To assemble
Place plain circles on top of each other, gauge where the holes are to be punched and mark lightly. Punch holes with smaller Cropodile punch and join all four circles together with brads. With wet glue – to allow for ‘wiggle room’ and only applying to centre, glue each ‘season’ onto appropriate circle.
Et voila – ‘A Scene for All Seasons!’


Looking forward to your 'Circles or Squares' makes and remember you could be the recipient of a £50 voucher to spend on the Clarity website - a randomly chosen project - or indeed find your project displayed as one of the Top Five as chosen by the Challenge Design Team. You may enter by a link from your own blog or from a photograph of your project emailed to claritystampchallenge@hotmail.com Please remember to check guidelines too; these may be found at claritystampchallenge.blogspot.co.uk
Best wishes!