Thursday, 3 August 2023

Cleverprints Blog 24

 Cleverprints Blog 24

Hello from a windy Aberdeen. The gardening clothes were donned, equipment out from garage then the rain decided to shower, so I'm writing this week's blog instead. 

This week's contribution is a card using two Cleverprints 'Sale' items; worthwhile checking out. 

Details and instructions to follow. 

https://www.cleverprints.co.uk

Materials:-

Cleverprints Products:-
  • Stamps - 'Sarah,' 'Flowers and Texture' sets
  • Stencil - 'Flower Fall 041'
Extras:-
  • Card
  • Black Ink Pad
  • Colouring Medium - Polychromos used here
  • Alcohol Markers
  • Colour sprays or pigment powders
Instructions:-
1. Using black ink pad, stamp 'Sarah' stamp on white card. Add colour to face with chosen colour medium (Polychromos used here) and outline with a grey or grey/blue alcohol marker. Trim around border.

2. Stamp flowers from 'Flowers and Texture' set three times on white card. Colour with chosen medium.


3. Without glueing in place, add image and trimmed flowers onto stencilled background to get an idea of the end result. It is an idea to photograph your final design at this stage, as a reminder. 
*Stencilled background created by 
                                a) placing and taping in place, stencil onto card,
                                b) spritzing with colour spray,
                                c) adding (sparsely) some pigment powders,
                                d) lightly spritzing with water,
                                e) with stencil still in place, sandwiching between a sheet of                                     copy paper underneath and a piece of blank white card                                        above (to blot),
                                f) running through die cutting machine using usual                                                sandwich.
The outcome is the background shown above whilst that selected in the final project is the 'blot' sheet.

4. Add colour to bubbles. Glue flowers in place.

5. Continue glueing flowers in place. 

6. Attach to stencilled background, add a few flowers at shoulder line and mat onto toning card. 

Et voila - ready for an appropriate sentiment. 

Thanks for looking in.

Until next time, 

Shelagh 'The Making Lady'


Friday, 28 July 2023

Cleverprints Blog 23

 Hi and welcome. This past week has flown and having taken advantage of the good weather up here, time has been spent in the garden - still lots to do but atleast there is a flicker of light at the end of the tunnel. 

A very simple card front this week or indeed a journal page. Instructions to follow. 

Cleverprints Blog 23

Materials:-
Cleverprints Products:-
  • Stamps - 'A Happy Bloom' set; 'Explore the Wild Flowers' set 
Extras:-
  • Card - White
  • Alcohol Markers
  • Green Ink Pad
  • Micron Pen
Instructions:-

1. Using a green ink pad, stamp main flower images from both 'A Happy Bloom' and 'Explore the Wild Flowers' sets - both designed by Jane Royston - in a diagonal formation. 

2. Colour with a selection of alcohol markers. 

3. Add detail around all four edges of card front with Micron pen. 

4. 'Ground' flowers by adding a few scribbly lines at each stem base. 

5. Draw in a few dragonflies. 

. . . And here we have this week's blog contribution. Quick and simple - or even simple and quick. Prepared and ready for its next life - greeting card or art journal. Either way, just add a sentiment.

Happy crafting!

Shelagh
'The Making Lady' 

Thursday, 20 July 2023

Cleverprints Blog 22

Hello and welcome to this week's blog featuring Cleverprints products. I've had this idea for some time, wondering which Cleverprints stamp would work when the eureka moment ocurred during my slumbers. It is a interest of mine to see what can be created using a single stamp and this one from 'Fantastic Fox' set was just the ticket! 

https://www.cleverprints.co.uk

Cleverprints Blog 22

 
Materials:-

Cleverprints Products:-
  • Stamps - Woodland Creatures 'Fantastic Fox' set - flower and sentiment
Extras:-
  • Card - White
  • Colouring Medium - Brush Pens used here
Instructions:-

1. Cut card to measure 27cm x 13cm and score at 9cm and 18cm. Burnish folds.

2. Open card so it is flat. Stamp flower from 'Fantastic Fox' set in bottom left hand corner. 
***To position the next stamped image using a stamping platform, I cut down a cello bag from packaging, placed it over the card then positioned my stamp. It was then picked up by the platform lid. This was repeated throughout the stamping of this card, the cello bag protecting the actual card from stray ink spots.  

3. Continue stamping.

4. Finish stamping at the top right hand corner, leaving a blank space for sentiment.

5. Trim left side and across the top.

6. Fold card as shown then turn over to reverse.

7. Stamp along the cut edges of the middle section - this will be on show when the card is folded. 

8. Colour, beginning with the lightest brush pen. 

9. Continue with the medium colour. 

10. Add darkest colour - I alternated between pink and red. 

11. Stamp sentiment, trim and add to card. 

12. Add contrasting dots around flowers.

Et voila! The completed card. 

This is the original card where the cut edges were outlined. Dots added with black micron pen. 

Showing the reverse and also added brush pen stems and leaves. 

Thank you for looking and see you soon with another Cleverprints 'make.' 

Best wishes and happy crafting.

Shelagh 
'The Making Lady'


Thursday, 13 July 2023

Cleverprints Blog 21

 Cleverprints Blog 21

Hi and welcome. 

With so many off-cuts of card lying around, far too precious to  consign to the bin, they are used in this bright little card. 

Details and instructions below. 

Oddments card!

Materials:-

Cleverprints products:-

Stamp sets

  • Sea Anemone - Main Image
  • Born to Fly - Small Flower
  • Sea Urchin - Sentiment
Extras:-
  • Card Scraps - White; Two tones of green; 
  • Alcohol Markers
  • Glitter Glue
  • Large Needle
  • Gold Thread
  • Micron Pen
  • Foam Tape
  • Self Adhesive Gems
  • Rule
Instructions:-
1. Cut white card 18cm x 13cm.

2. Score at 5cm down long side. 

3. Cut two green mats 11.5cm x 11.5cm and 3.5cm x 11.5cm and adhere as shown. 

4. Attach 3.5cm x 11.5cm mat to card front. 

5. Cut darker green mats 10cm x 10cm and two measuring 2.2cm x 10cm. Attach over light green mats.

6. Cut white card square 8.5cm x 8.5cm. Measure 0.5cm down from top edge, 1.5cm in from side and pencil mark the intersection point. Continue to mark at 1 centimetre intervals until there are six 'dot' pencil marks. Repeat on each side. Pierce each dot with a sharp stylus or as I have done - a large needle. 

7. Six holes pierced on each side.

8. Thread needle with a good length of gold twine. Tape end at reverse of card.

9. Take thread from 1st hole on one side to 1st hole on second. 

10. Continue following this pattern - 2nd to 2nd, 3rd to 3rd etc to 6th to 6th.

11. Repeat on remaining two sides.

12. Reverse of card.

13. Completed stitching; mount onto 9cm x 9cm green card.

14. Attach centrally and diagonally onto matted card with foam tape. 

15. Stamp Sea Anemone main image twice, colour one complete image - in this instance, I used alcohol markers. Trim. Colour the 'fringe' on the second image only and trim, adding this to complete image with foam tape. Adhere over stitched square. Decorate edges with random fine liner squiggles. (See main photo.)

16. Stamp small flower from 'Born to Fly' multiple times, colour, trim and add to top of sea anemone. 

17. Stamp sentiment on white card, trim and add to square of green card. Add a few coloured flowers and attach to card front. Decorate small areas with glitter glue. 

Et voila! Presenting the 'oddment' card. 

Until next time - 

Happy crafting!

Best wishes, 

Shelagh
'The Making Lady.'


Thursday, 22 June 2023

Cleverprints Blog 20

 Cleverprints

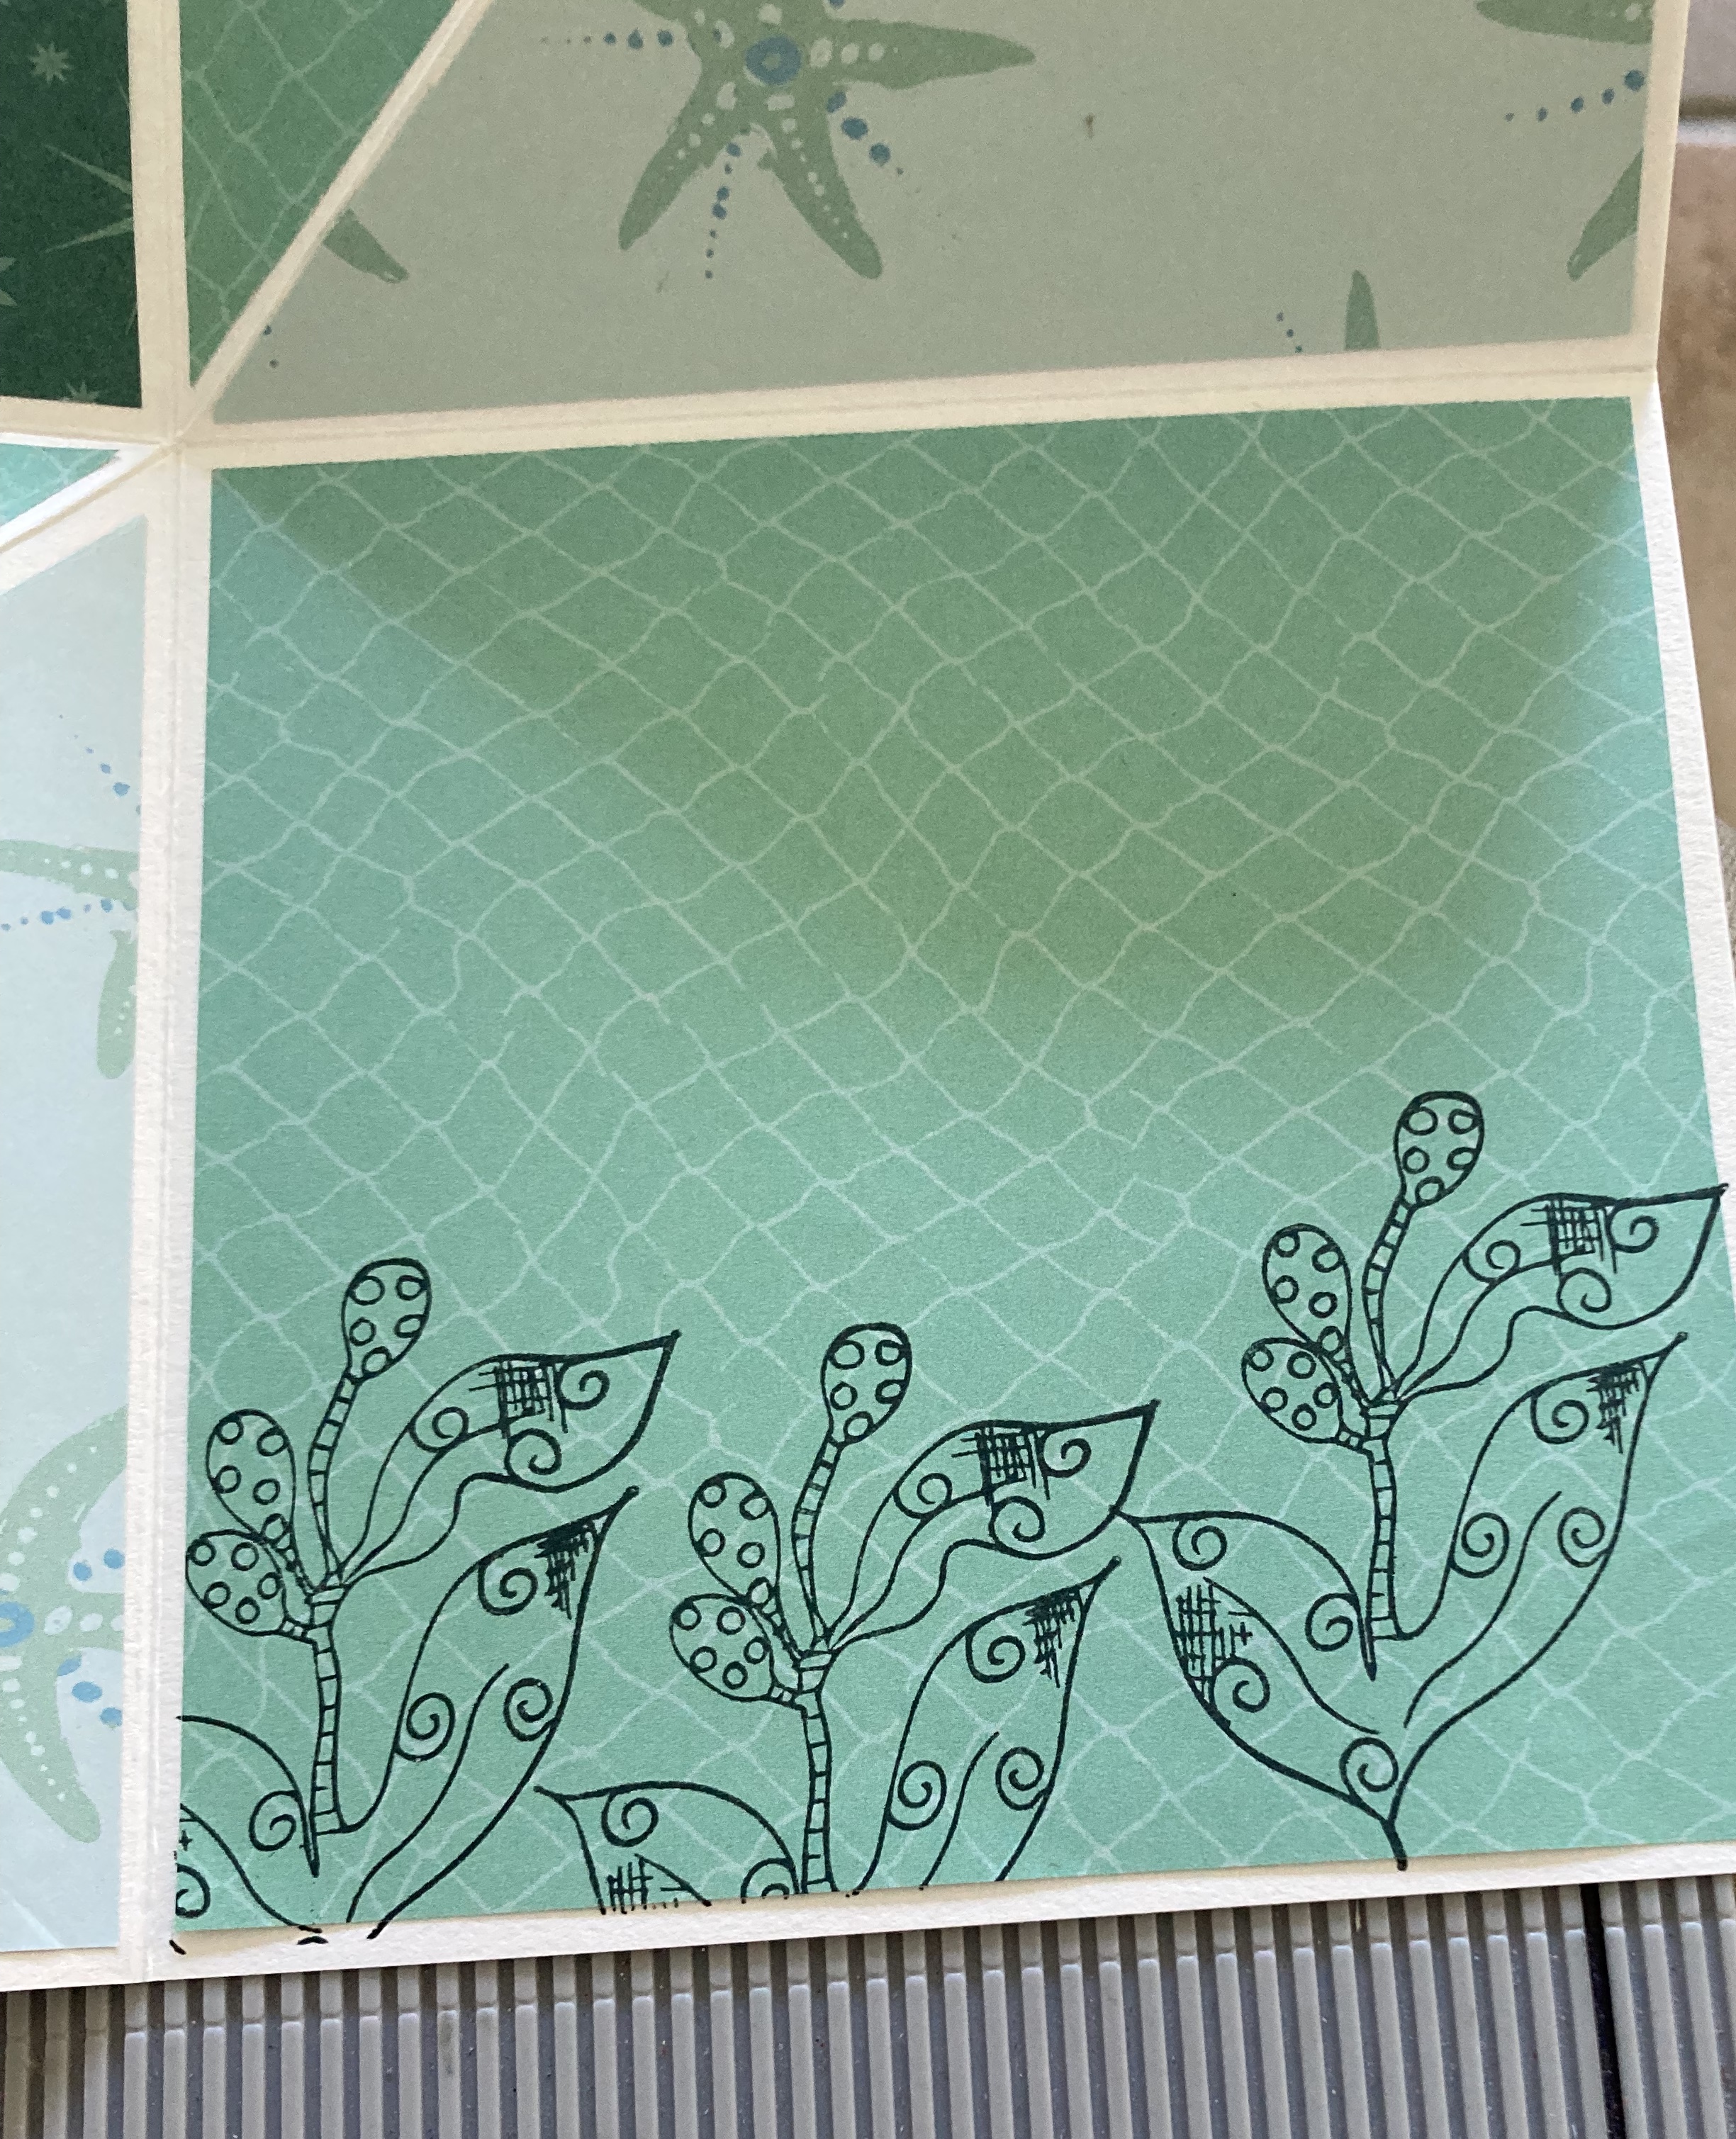
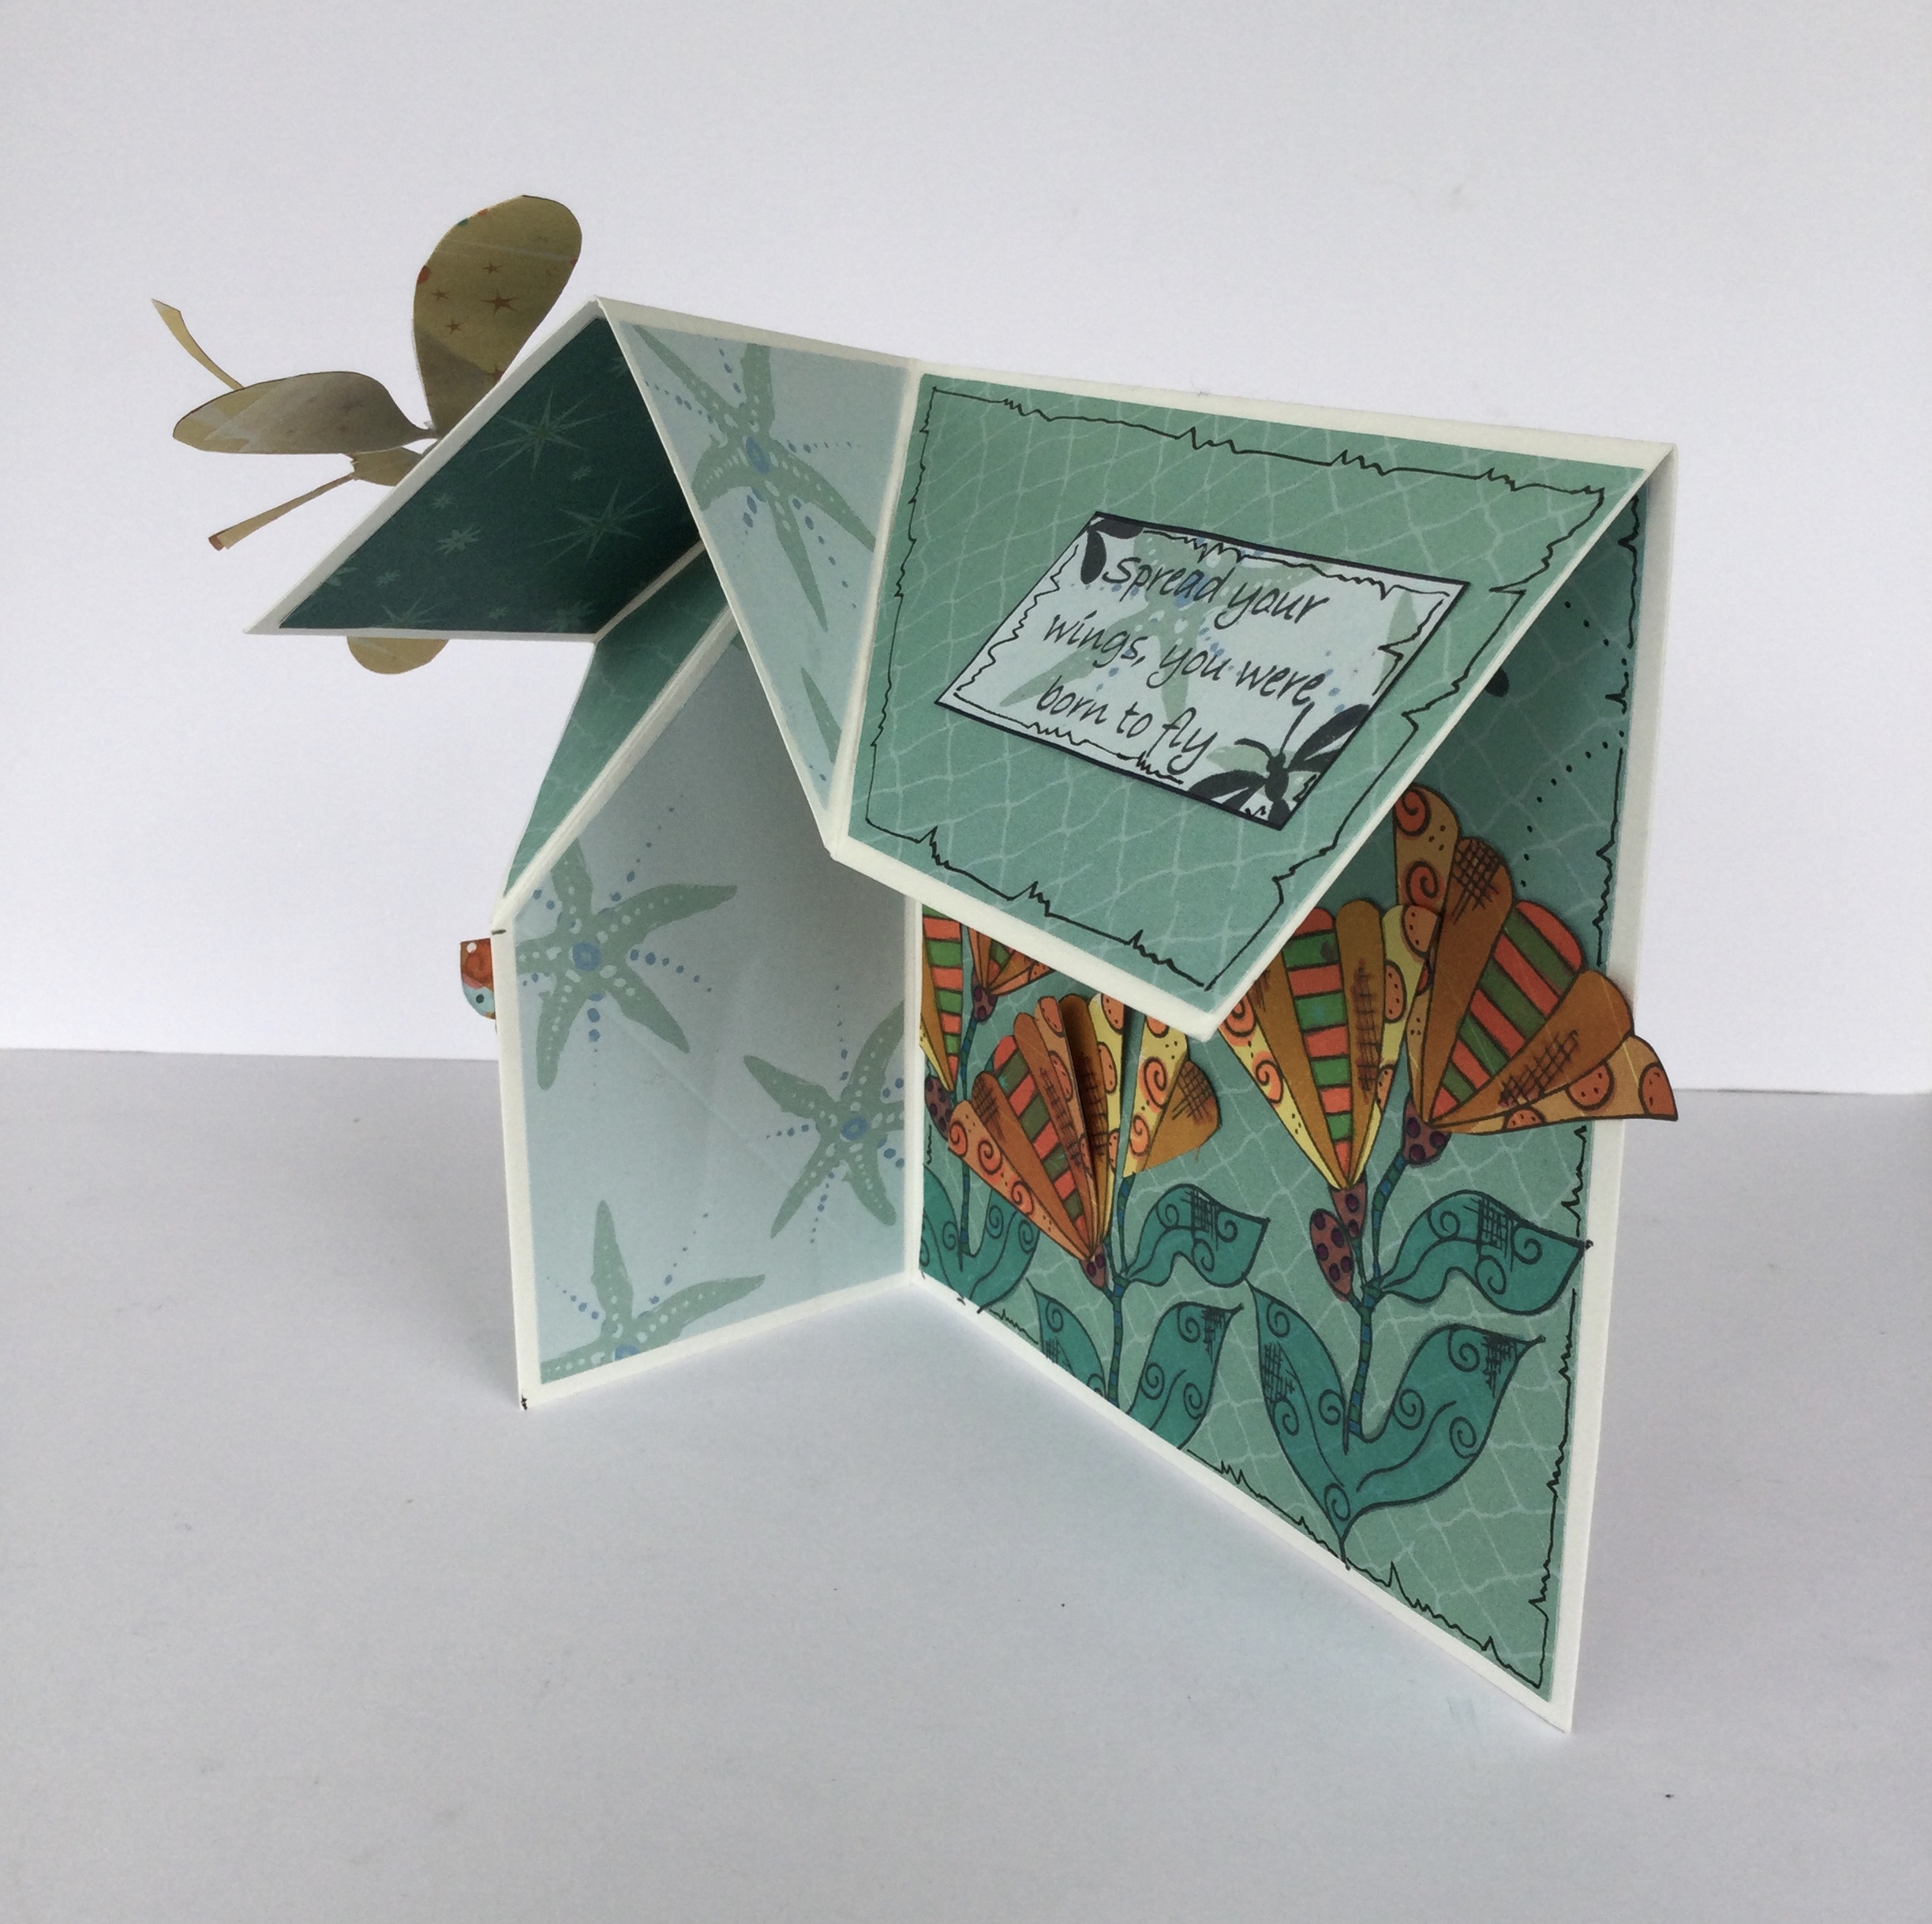
Hello. This week's project is a fancy fold card I happened upon and decided to use some of Jane's 'Under the Sea' collection to decorate. Patterned papers provided the stamping background with further colour added. 

Details below. 

Stamps from https://www.cleverprints.co.uk

Fancy Fold Card

Materials:-

Cleverprints Products:-
  • Stamps - Starfish set; Sea Anemone set; Born to Fly set.
Extras:-
  • Printed Papers (from stash)
  • Card - white
  • Alcohol Markers
Instructions:-


1. Cut white card to measure 21cm x 21cm. (8 1/4in x 81/4in.) 
Score at 7cm (2 3/4 in.)

2. Turn card by 90 degrees and score again at 7cm. (2 3/4in.)

3. Lightly pencil mark 14cm on both scored edges. Join both marks with a score line.

4. Fold and burnish along first score line.

5. Fold and burnish card at second score line

6. Fold and burnish third score line as in photo. (Valley fold, Mountain fold, Mountain fold, Valley fold.)

7. Mat each area with patterned papers. 

8. Stamp image from 'Starfish' stamp set; colour to suit with alcohol markers. 

9. Stamp shell image from 'Sea Anemone' stamp set multiple times on patterned paper.

10. Colour shell shapes and trim. 

11. Arrange on card then glue in place. Stamp a few dragonflies from the 'Born to Fly' stamp set. 

12. Stamp large dragonfly from 'Born to Fly' set on patterned paper, colour and trim. Attach to square on front of card. 

13. Stamp sentiment on patterned paper, add some dragonfly silhouettes and trim. 

14. Et voila! Fancy Fold Card!

15. This card will fold flat for mailing - thumb optional!!! (My husband's - he does finished item photography for me!)

Thank you for following the instructions. 

Happy crafting!

Shelagh
'The Making Lady.'