Clarity Stamps on
Hochanda – April 11 2018 – Maria Moorhouse
My latest contributions for Clarity on Hochanda using 'Dangles' Stamps designed by Linda Williams.
Dream


Materials:-
·
Stamps:- Dream Dangles
·
Ink Pads:- Archival Black; Artistry – Golden
Turmeric, Ocean Reef, Tenacious Teal; Versamark
·
Car/Paper:- Clarity Stencil Card 7ins x 7ins;
Black; Glitter Gold
·
Embossing Powder:- Clear Detail, Gold Detail
·
Misc:- Self- adhesive gems; Coloured craft wire;
Gold Beads; Feathers; Perga Glue; Gold
Mica Paste
Instructions:-
Background card
1.
Randomly stamp dream catcher over a sheet of
stencil card using Versamark. Add clear detail embossing powder and heat set.
2.
Colour areas of card with Golden Turmeric -
straight from the mini ink pad. Repeat with Tenacious Teal and Ocean Reef.
3.
Spritz (soak) card with a water spray and allow
colours to mix.
For the main card:-
1.
Dab
Golden Turmeric, Tenacious Teal and Ocean Reef onto Clarity blending mat.
Spritz with water and mop ink up with another sheet of stencil card to suit.
Allow to dry.
2.
Stamp word in centre using Versamark and add
gold detail. Heat emboss.
3.
Randomly stamp dream catcher as before, add gold
detail and heat set.
4.
Colour word using dilute Gold Mica Paste.
To assemble:-
1.
Trim main card to suit and edge with a gold pen.
2.
Trim background, edge with gold pen then mount
onto black card.
3.
Attach main card.
4.
Add self-adhesive gems.
5.
Use trimmings from main card to add border and
corner.
6.
Add decoration.
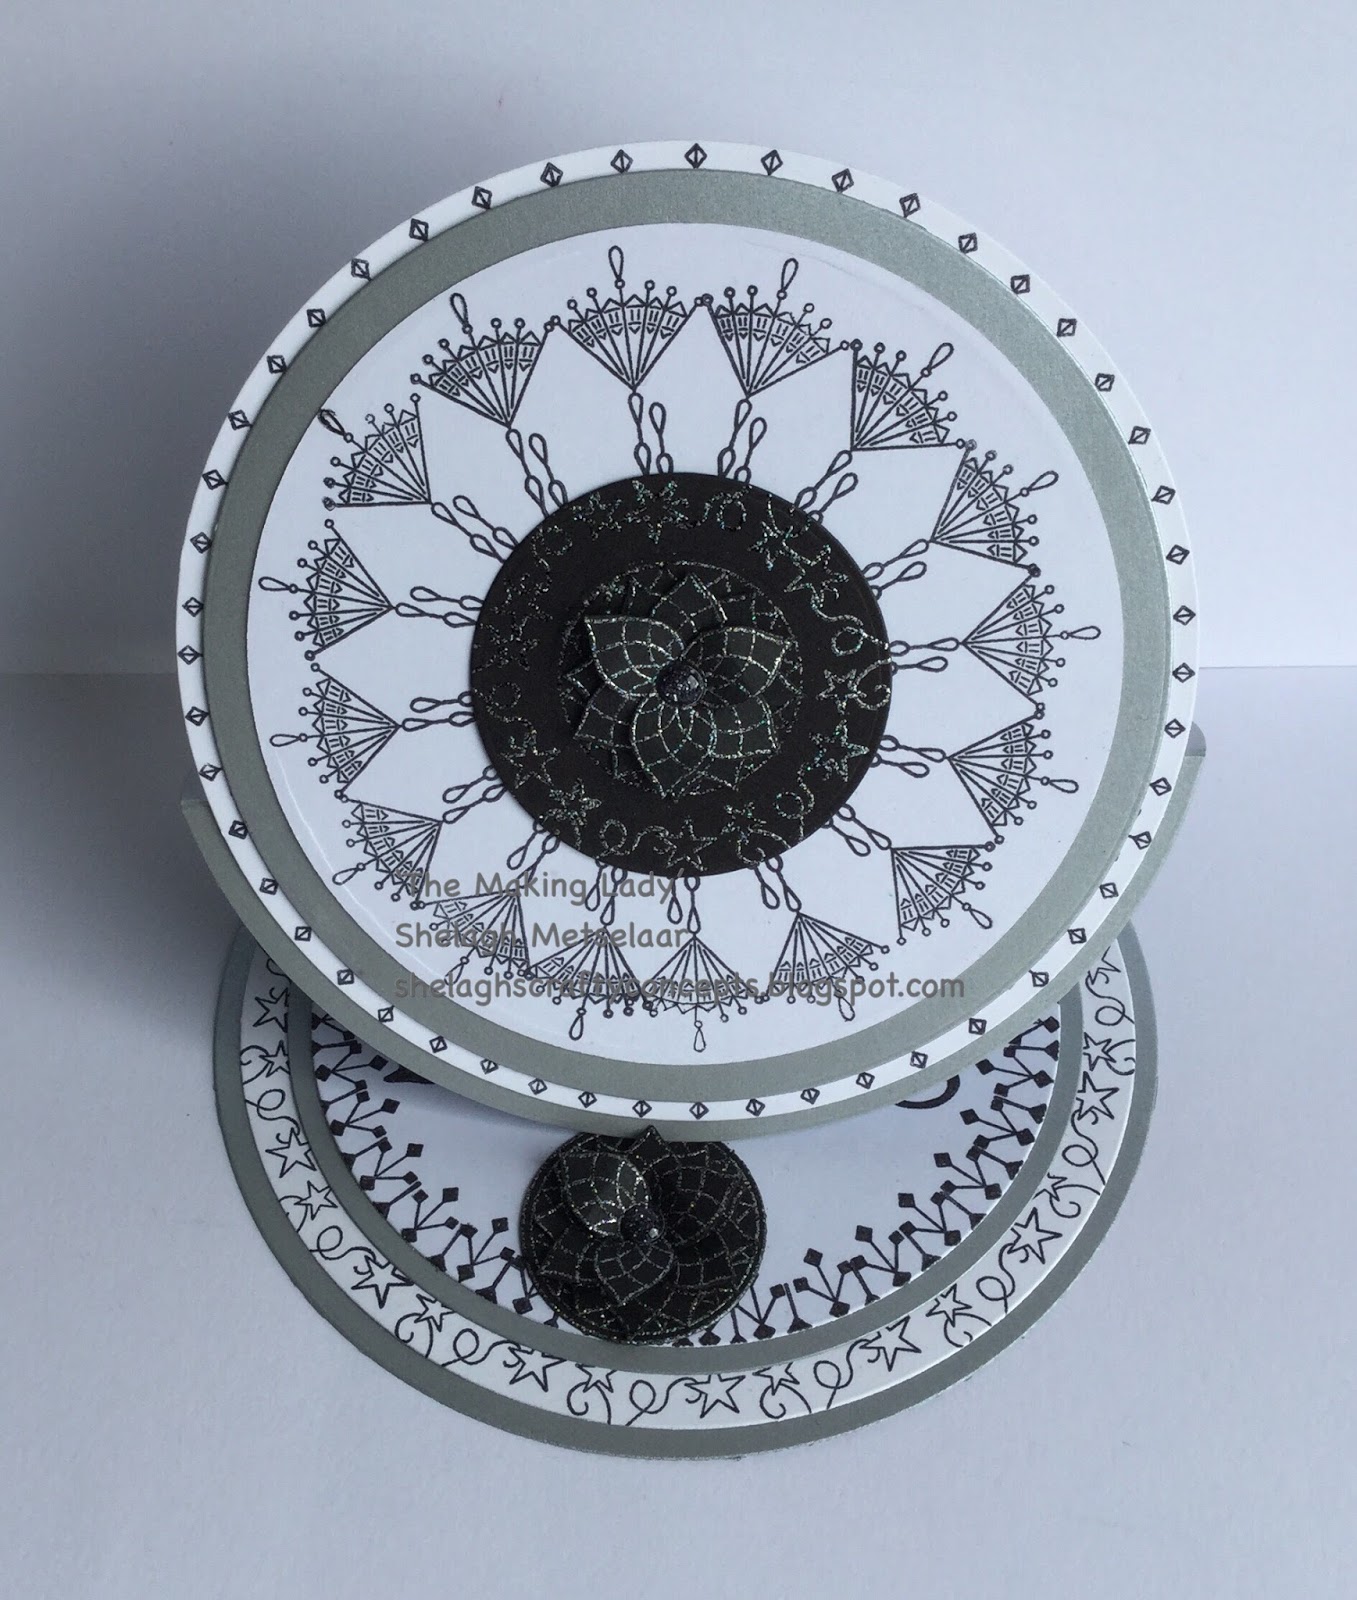
Friends

Materials:-
·
Stamps:- Friends Dangles – Word, ‘Fan-dangle;’
Dream Dangles – Dream catcher, Star frond; Birthday Dangles – ‘Trident’
·
Ink Pads:- Archival black; Versamark
·
WOW Silver Holographic Embossing Powder
·
Card/Paper:- white, silver pearlescent, black
·
Misc:- Black Star pen; self-adhesive gems.
Instructions:-
1.
Cut 14.5cm circle across fold to create a
circular card blank. Score across top circle to form an easel card. Set aside.
2.
Cut a 12cm circle from white card and repeatedly
and in a rotation stamp the ‘fan’ stamp using Archival Black. Set aside.
3.
Cut 13.5cm circle from silver card and attach
stamped circle centrally.
4.
Cut 14cm circle and stamp ‘trident’ around
circumference.
5.
Attach stamped topper to this centrally as in
2).
6.
Attach to folded top of card blank.
7.
For the base:- Cut 14cm circle from white card
and stamp ‘starry frond’ repeatedly around circumference. Attach centrally to
card blank base.
8.
Cut 12.5cm circle from silver card and set aside
to be used once 9) is complete.
9.
Cut 12cm
circle from white card and stamp ‘trident’ around circumference. Stamp word in
centre. Colour to suit with Black Star
pen. Attach to silver circle and add to base of card.
10.
Cut 6cm circle from black and stamp starry frond
using Versamark; add embossing poder and heat set.
11.
Mask dream catcher either with masking tape or
sticky notes to cover all but the central circle and ink with Versamark; emboss
as above.
12.
Stamp another 3 dream catchers on black, trim
each to suit and decoupage onto circle at 6cm.
13.
Attach to centre of card front.
14.
Stamp another dream catcher onto black as above
and trim to leave only the circle. Stamp and cut out another three images as in
12) and attach to base as stopper.
15.
Add self-adhesive gems to both centres.
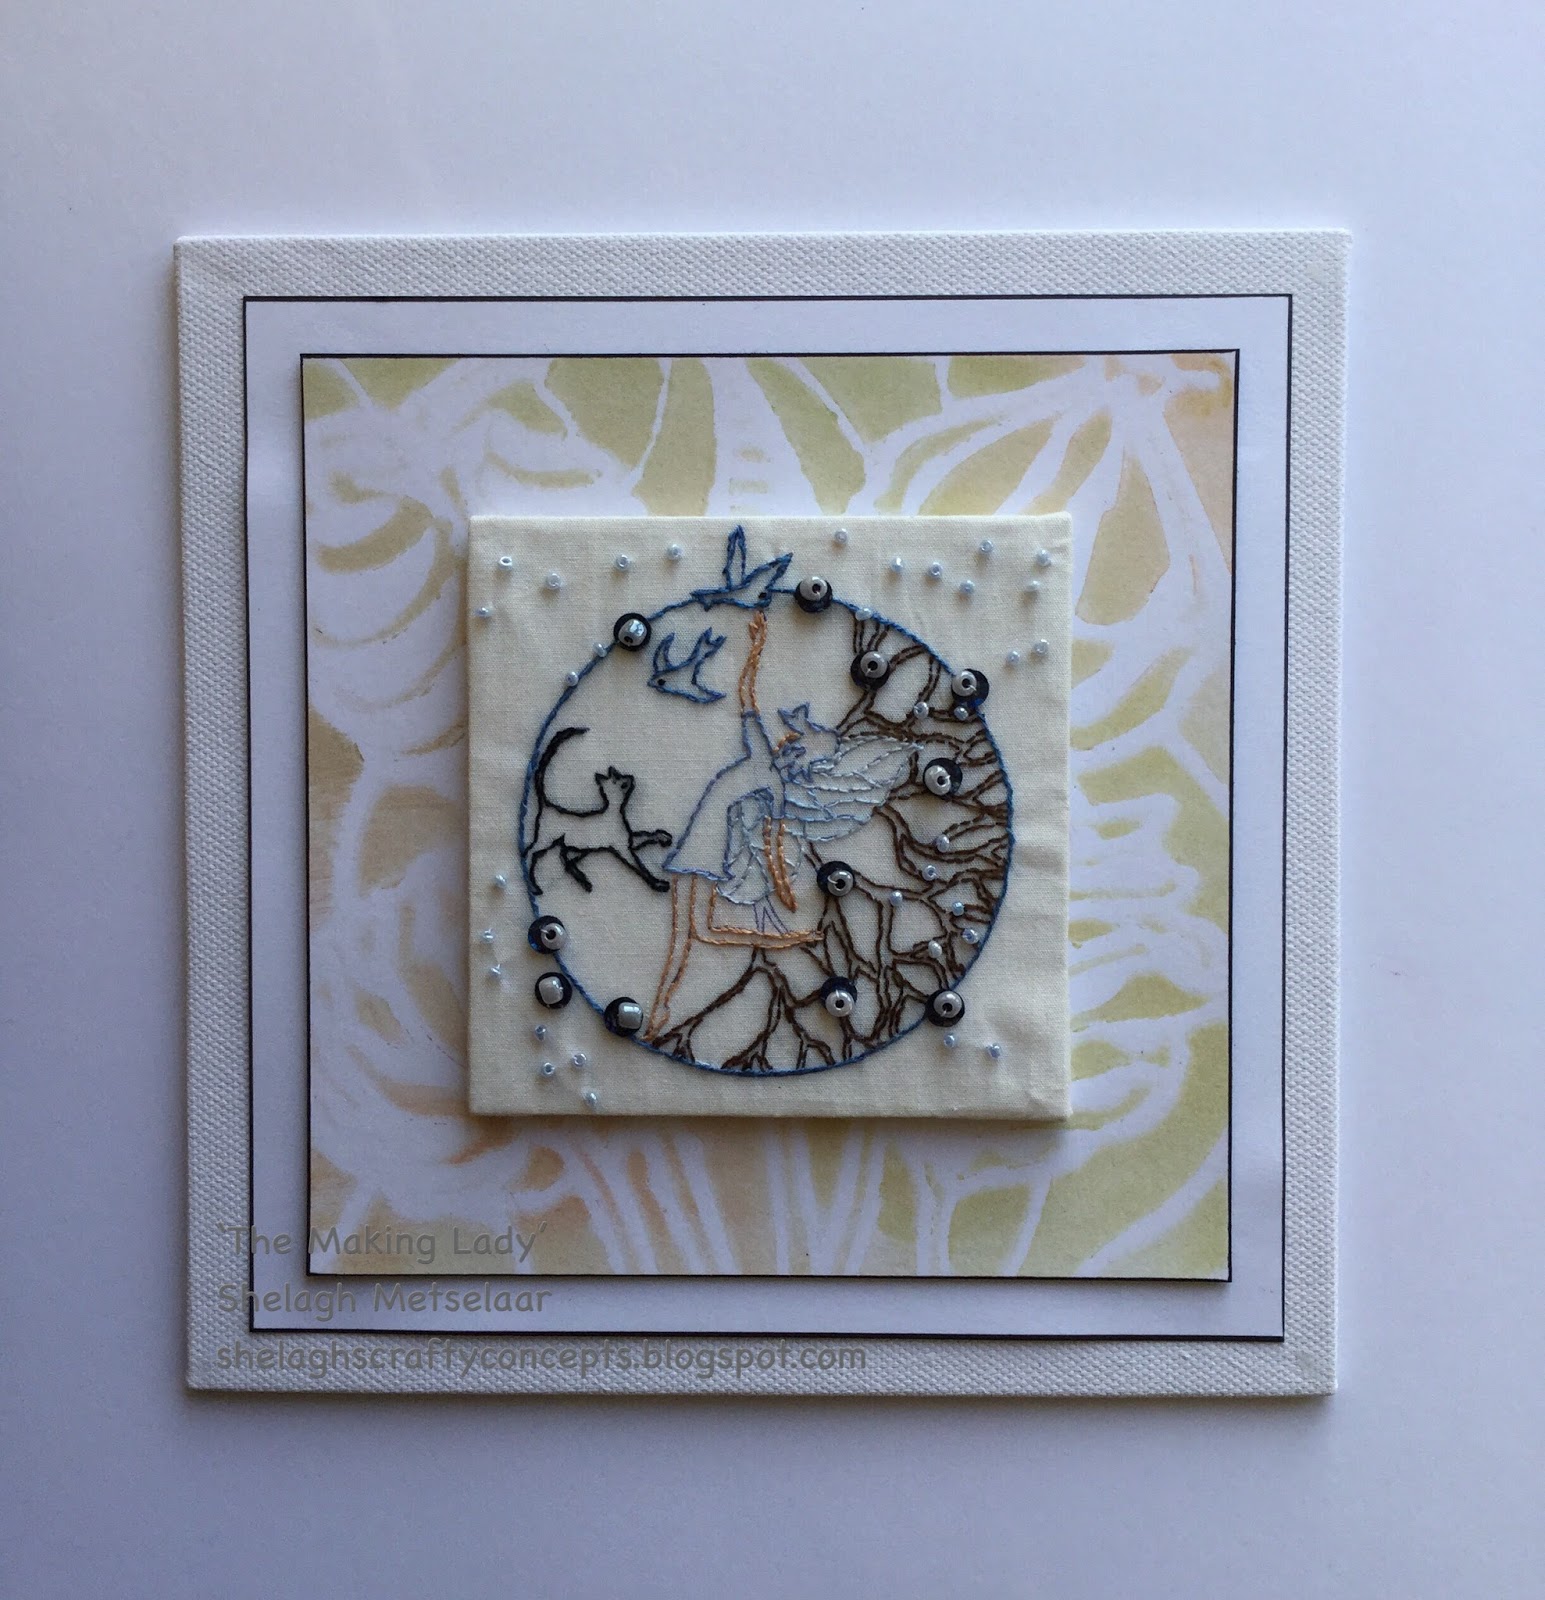
Dream Wall Hanging

Materials:-
·
Stamps:- Dream Dangles
·
Ink Pads:- Black Archival
·
Card/Paper:- Clarity Theuva, Gold Glitter
·
Clarity Canvas:- 8ins x 8ins
·
Misc:- Black Micron Pens 0.05, 0.1; Gold Star
pen; cord; beads; feathers
Instructions:-
1.
Cut two pieces of Theuva card to measure 12.5cm
x 12.5cm and 15cm x 15cm.
2.
Stamp word around each side to suit.
3.
Doodle differing circle sizes inside all four
images using both Micron pens.
4.
Stamp dream catcher in centre.
5.
Doodle areas of dream catcher with Micron and
gold pens.
6.
Edge both this and the larger square with black
pen and mount each onto gold glitter card.
7.
Attach to canvas with Clarity double-sided
sticky.
8.
Attach beaded and feathered cord to reverse.
Thank you for looking at my work. Hope to see you again soon.
Happy crafting!
Best wishes,
Shelagh.
Thank you for looking at my work. Hope to see you again soon.
Happy crafting!
Best wishes,
Shelagh.