Friday 11 August 2023

Cleverprints Blog 25

 Cleverprints

Quick and Easy Box

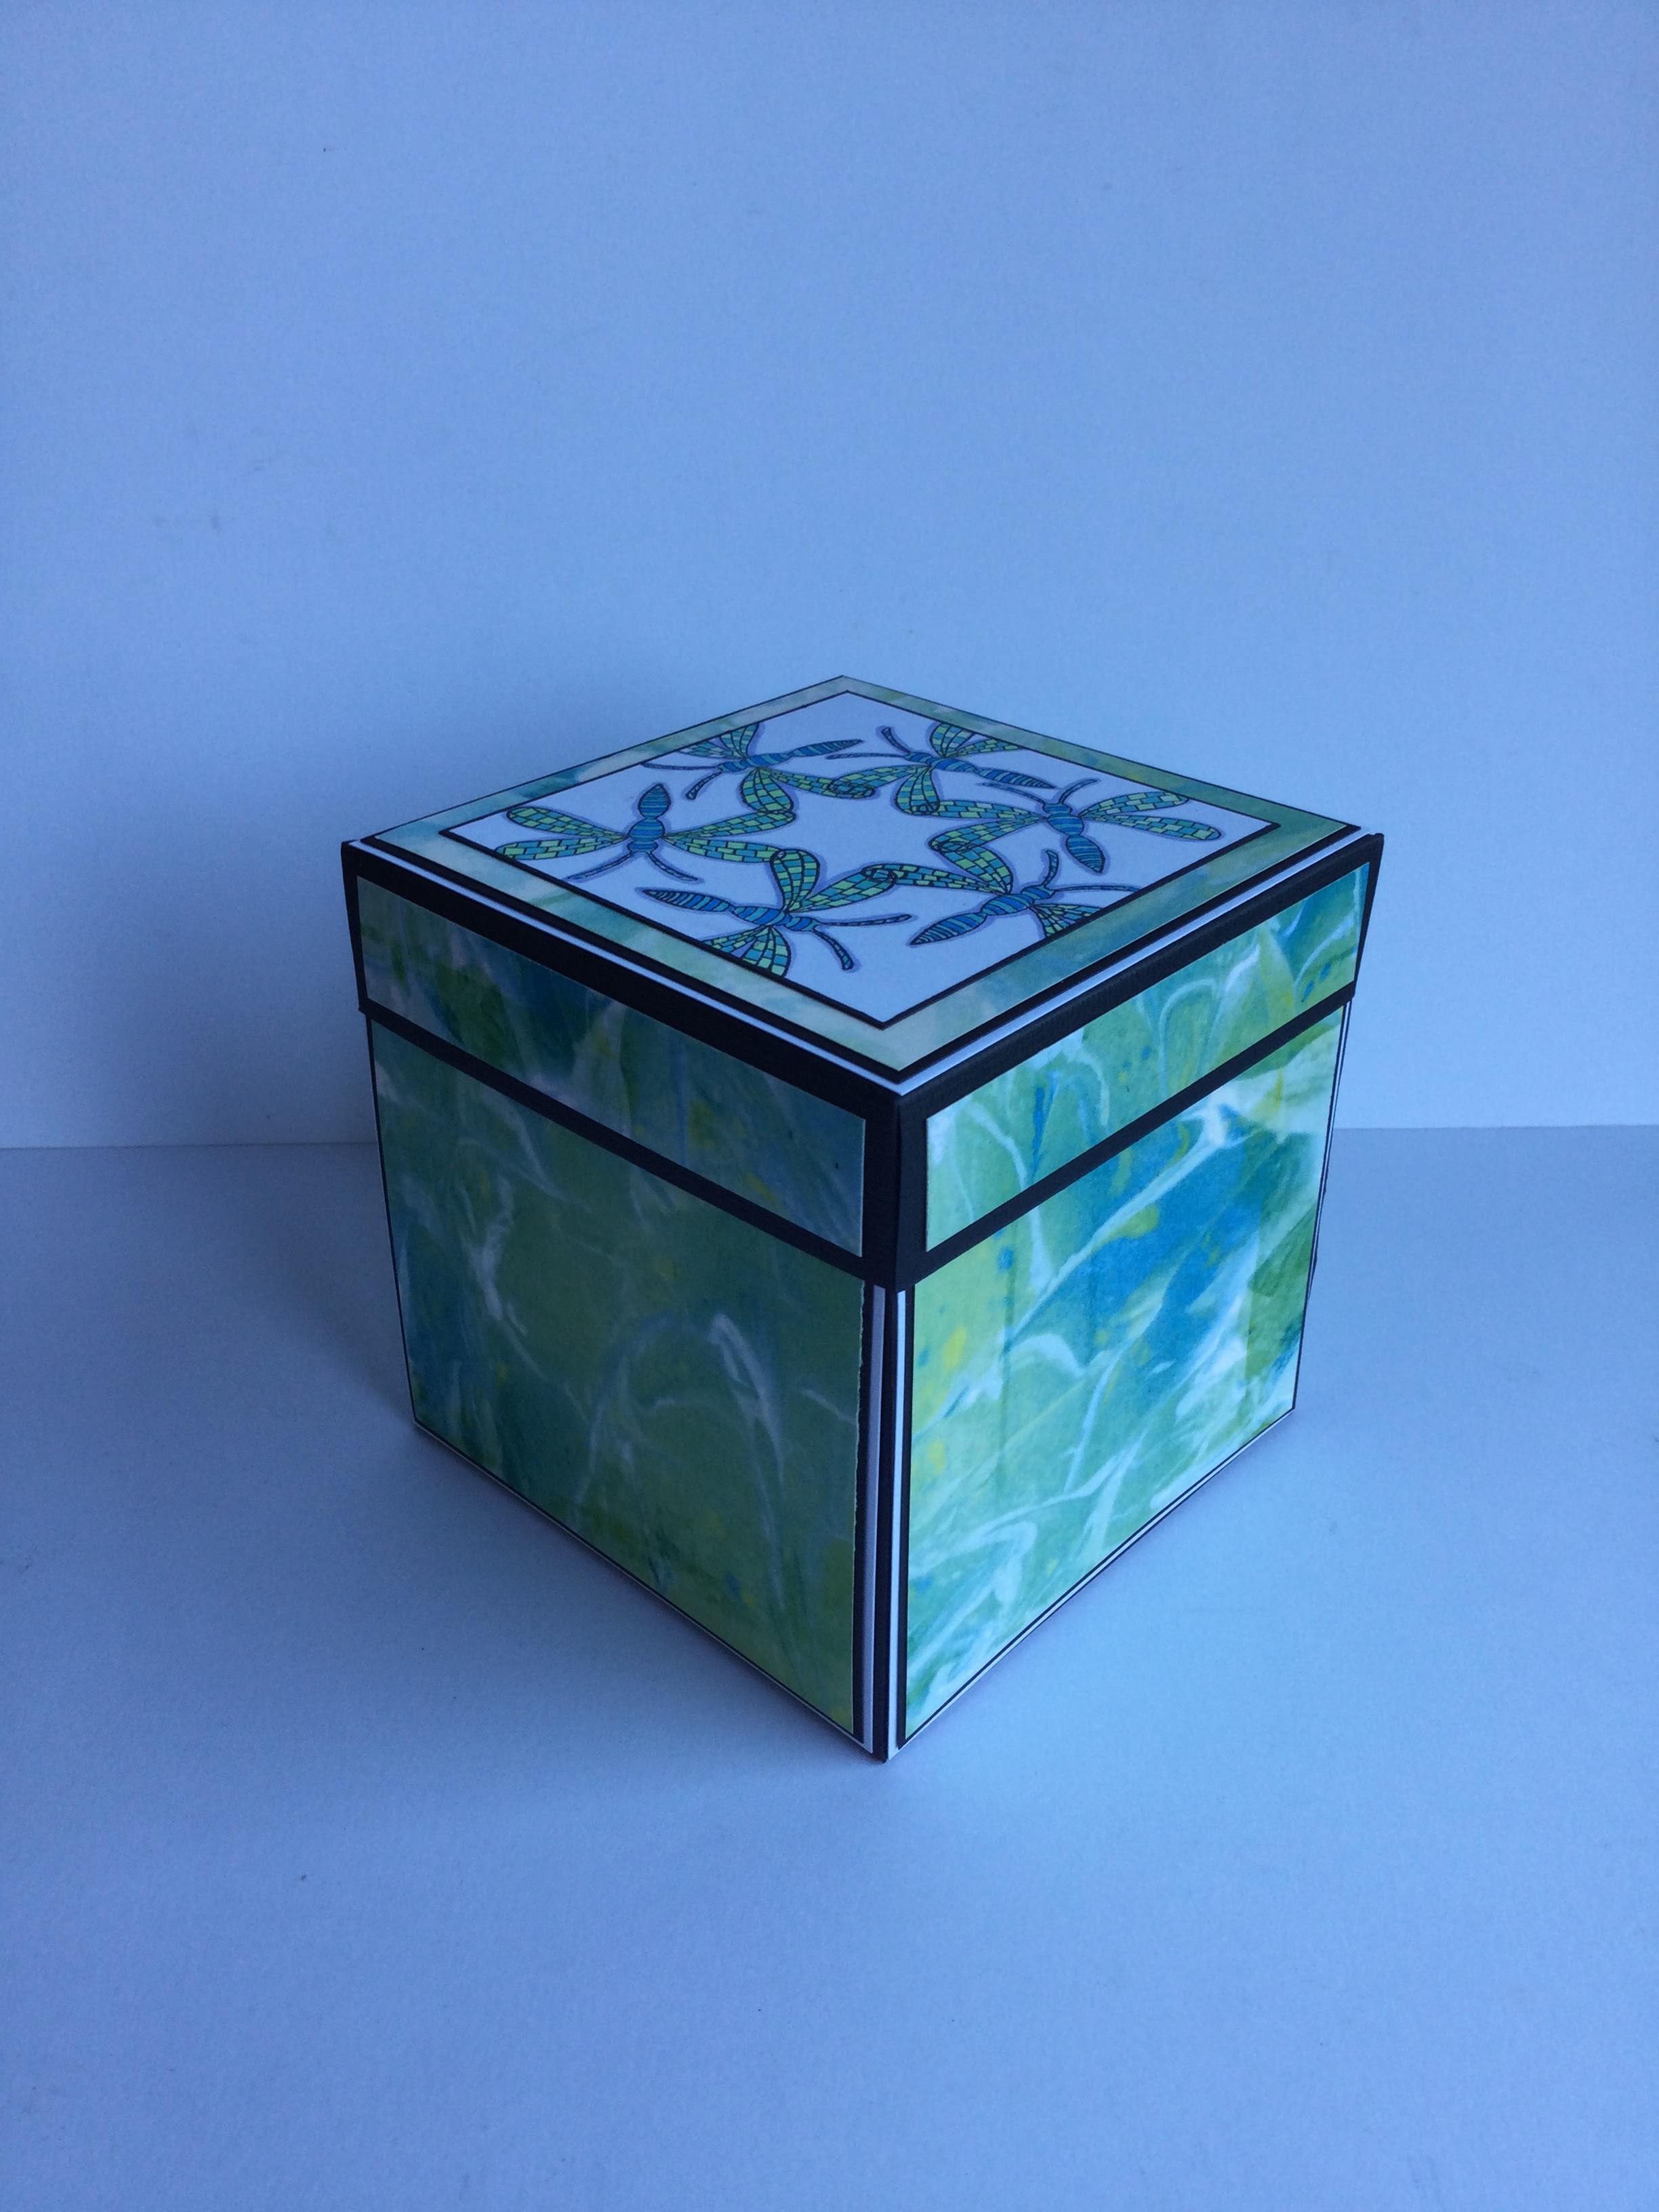
Tempus fugit, as the saying goes - where on earth has this week? With a heap of family birthdays and occasions looming, a quick and easy box is just the ticket. Jane's card and papers from 'Under the Sea' collection provide  an instant decoration to add to the box faces and lid - a stamped image added as a topper. 

Happy crafting!

Materials:-
Cleverprints Products:-
  • Backing Papers and Card - Under the Sea Collection
  • Stamps - Born to Fly small dragonfly
  • Colouring medium - Alcohol markers
Extras:-
  • Black card 12ins x 12ins x 2
  • White card - for mats
Instructions:-
1. Box body - Score 12ins x 12ins card at 4ins and 8ins. Rotate by 90 degrees and score at 4ins and 8ins once more.

2. Score from top left corner along diagonal to first intersecting lines. Repeat on three remaining corners. 

3. Trim off one triangle from each side. 

4. Add double sided tape to two sides of each triangular tab. 

5. Attach each trangular tab to neighbouring side, lining up each score line. 

6. Box lid - Cut 6ins x 6ins square from second 12ins x 12ins card. Score at 1ins on each side.

7. Trim triangle from each corner and glue each tab in place as in box formation. 

8. Cut five squares from Cleverprints 'Under the Sea' papers measuring 3 3/4ins x 3 3/4ins - one for each side and one for the box lid.

9. Mat each onto black followed by white squares. 

10. Adhere one matted square to each side and also to lid top.

11. From matching 'Under the Sea' A5 card, cut 4 strips measuring 3 3/4ins x 3/4ins. Adhere to each lid side to decorate. 

12. Stamp Small dragonfly from 'Born to Fly ' set in a pattern on white card, colour, trim and attach to top of box lid.


Et voila, une boite!

Something for all these pending family birthdays.

Until next time, thanks for joining in. 

Best wishes, 
Shelagh
'The Making Lady.' 


Thursday 3 August 2023

Cleverprints Blog 24

 Cleverprints Blog 24

Hello from a windy Aberdeen. The gardening clothes were donned, equipment out from garage then the rain decided to shower, so I'm writing this week's blog instead. 

This week's contribution is a card using two Cleverprints 'Sale' items; worthwhile checking out. 

Details and instructions to follow. 

https://www.cleverprints.co.uk

Materials:-

Cleverprints Products:-
  • Stamps - 'Sarah,' 'Flowers and Texture' sets
  • Stencil - 'Flower Fall 041'
Extras:-
  • Card
  • Black Ink Pad
  • Colouring Medium - Polychromos used here
  • Alcohol Markers
  • Colour sprays or pigment powders
Instructions:-
1. Using black ink pad, stamp 'Sarah' stamp on white card. Add colour to face with chosen colour medium (Polychromos used here) and outline with a grey or grey/blue alcohol marker. Trim around border.

2. Stamp flowers from 'Flowers and Texture' set three times on white card. Colour with chosen medium.


3. Without glueing in place, add image and trimmed flowers onto stencilled background to get an idea of the end result. It is an idea to photograph your final design at this stage, as a reminder. 
*Stencilled background created by 
                                a) placing and taping in place, stencil onto card,
                                b) spritzing with colour spray,
                                c) adding (sparsely) some pigment powders,
                                d) lightly spritzing with water,
                                e) with stencil still in place, sandwiching between a sheet of                                     copy paper underneath and a piece of blank white card                                        above (to blot),
                                f) running through die cutting machine using usual                                                sandwich.
The outcome is the background shown above whilst that selected in the final project is the 'blot' sheet.

4. Add colour to bubbles. Glue flowers in place.

5. Continue glueing flowers in place. 

6. Attach to stencilled background, add a few flowers at shoulder line and mat onto toning card. 

Et voila - ready for an appropriate sentiment. 

Thanks for looking in.

Until next time, 

Shelagh 'The Making Lady'