Clarity Challenge 39
May 2016
‘Anything Goes’
Mid-month

Hi and thank you for visiting my blog, it's truly much appreciated.
Already we are nearing the halfway point of May and time for a little nudge to remind you of this month's Clarity Challenge, 'Anything Goes.'
My mid-month contribution is a parchment shade, ready to sit atop a wine glass (LED night light is a must!!!) I used the trellis plate for the first time and had just taken delivery of new scissors hence the decorative top and bottom. The most perplexing part was drawing out a template and you will see the gist of how it was done. I used lids, plates, string and eventually my gran's pavlova plate was almost the right size.
Looking forward to your art work!
Materials:-
·
Clarity Groovi Parchment - A4 size
·
Groovi Starter Kit
·
Groovi Plates: - Lace Flowers, Trellis. (Large
Lace Netting and Frilly Circle were used in the step by step photos)

·
Large sheet of paper/card
·
Twin needle piercing tool
·
Fine scissors

Instructions:-
*To make the template, I had several attempts before using the 'plate and string' method which I made up as I went along. Basically I drew around a very large plate onto 16x16 inch card, used string to divide it into three and on one of the thirds, added a tab before cutting out. There are a few photos below to give you an idea.


*To make the template, I had several attempts before using the 'plate and string' method which I made up as I went along. Basically I drew around a very large plate onto 16x16 inch card, used string to divide it into three and on one of the thirds, added a tab before cutting out. There are a few photos below to give you an idea.

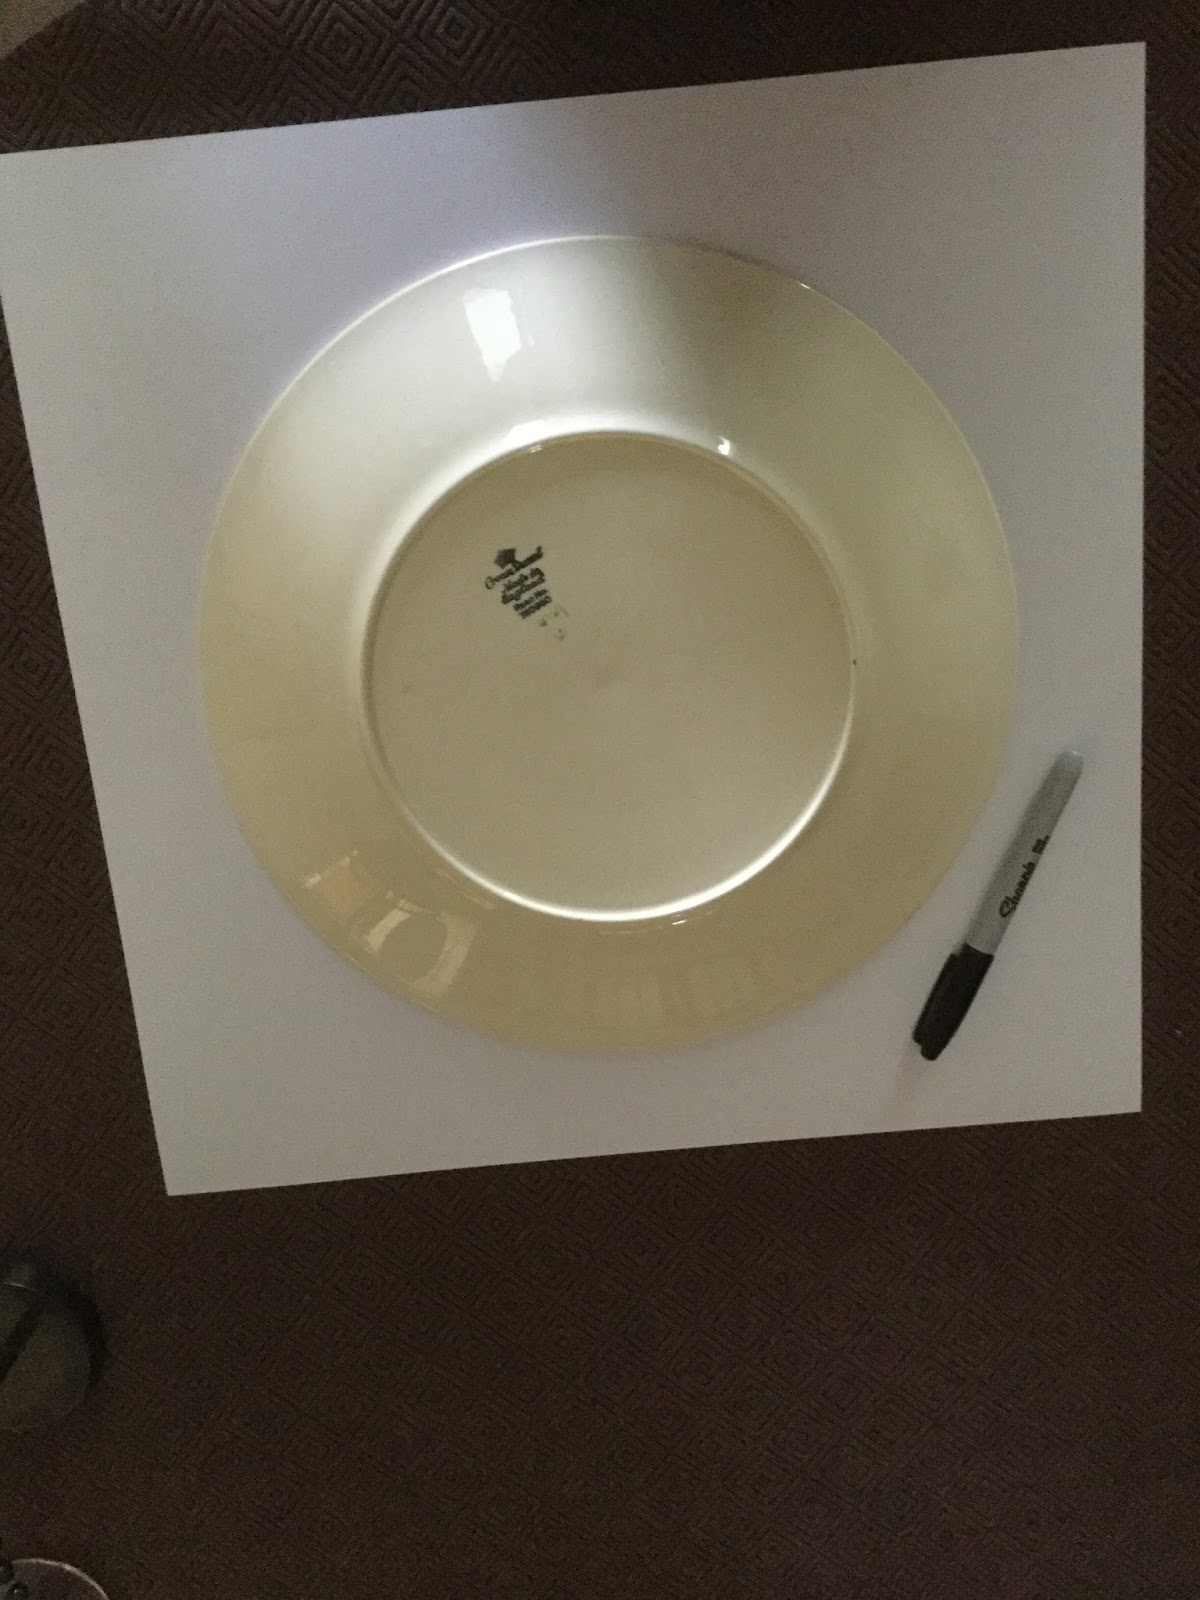

The blue shade above was where my idea began but had no idea how to go about forming a template.


1.
Draw around the template on the parchment with a
soft pencil.

2.
Place the Lace Flowers plate into the Groovi
Plate Mate and emboss the top and bottom of the parchment shape by fitting each
scallop from the frame along the edges.

3.
Emboss flowers from the plate along the
parchment.

4.
Remove this plate and replace with Trellis
plate. Emboss blank areas, moving the parchment when necessary until all blank
areas are filled.

5.
Using number four and three styli, add white
work to the flowers. (Add white work to the trellis at this stage too, if
desired.)
6.
Pierce around scalloped edges with the twin
needle tool then cut, using fine scissors.

7.
Trim excess parchment from the sides. Cut a slit
in the plain side using a craft knife and slot the tab in. (At this point, I folded the tab back which
meant there was no need for any form of adhesive.)
Et voila! A wine glass lampshade!
*Please remember to use the LED nightlights!
There are some stunning pieces of art already on show on the Clarity Challenge website so please think about having 'a go.' As I've said before - It's fun and it's free!! Remember you could be the lucky one, winning a £50 Clarity voucher.
Best wishes to you all,
Shelagh
The Making Lady.
As always beautiful piece Shelagh done my last piece of parchment for while not put it up yet have got tendonitis quiet bad so have to rest it xx
ReplyDeleteA stunning piece of parchment work it is beautiful. Xx
DeleteVery many thanks to both of you, Julie and Carol.
ReplyDeleteBest of wishes, Julie for a quick recovery. It must be very painful for you. I find that my index finger stays numb for a few days after a series of piercing tasks and that's when I go back to stamping. ;~}
Wow Shelagh stunning your parchment is you are so talented xxx
ReplyDeleteThank you, Sheila. It was a bit of a trial to get the template the right size but as for the decoration, Groovis make it easy. Hope you are able to get your daily crafty 'fix.' ;~}
DeleteThis is wonderful Shelagh. It is so delicate and must look magical with the LED light. Not sure I would have the patience to make something like this. x
ReplyDeleteThanks, Lesley. I toyed with the idea of some pierced work but didn't have time to replicate the shade if I'd made a mistake. As for patience - it actually becomes quite compulsive as you really want to see the end result. ;~}
ReplyDeleteWow, this is breathtaking! Such a gorgous piece of art!
ReplyDeleteThank you. Took a bit of figuring out but Atleast I've got a pattern now! ;~}
Delete