Clarity Stamp Challenge 38
Technique - Masking

Clarity Stamps Challenge April
2016
Technique – Masking
‘Save the Last Dance!’
Hello there and welcome once again. Here we are with lengthening evenings, nesting birds,trees and shrubs in blossom and not forgetting the prolific sprouting of the grass - time to learn how to use the petrol mower, I think.
This month's brief is a bit of a departure from the usual as it is technique-based. MASKING!
Happy Masking!
Materials:-
·
Cardstock:-
Stencil card 7x7;
·
Stamps:-
1)Wedding Folk 5,
2)‘Big Top’ (tent) from Circus set,
3)Frame and Sentiment from ‘Happily Ever After’ set,
4)Musical stave from ‘Joy and Birdsong’ set,
5)‘Vines’ border from ‘Treehouse and Vines’ set.
2)‘Big Top’ (tent) from Circus set,
3)Frame and Sentiment from ‘Happily Ever After’ set,
4)Musical stave from ‘Joy and Birdsong’ set,
5)‘Vines’ border from ‘Treehouse and Vines’ set.
·
Stencils:-
‘Stripes,’ ‘Circle’ and ‘Wavy Circle from ‘Framer Shapes sets 1&2’
·
Inkpads:-
Distress ‘Spun Sugar,’ Versafine Onyx Black
· Detail
Clear Embossing Powder
Instructions:-
1.
Place
the ‘Framer’ circle stencil to fit the 7x7 card and lightly draw the inside
circle with a pencil to form a placement guide for the stamps.
2.
Make mask by stamping onto post-it notes (please make
sure they are stamped nearest the sticky side)
1)
the lady with hat and the single tuxedo-ed gentleman from the ‘Wedding Folk 5’
set;


2)
the frame from the ‘Happily Ever After’ set, the musical stave from the 'Joy and Birdsong' set and
cut each out.
3.
Stamp
the lady onto the lower third of the outlined circle using Onyx Black then heat
emboss. Stamp the gentlemen next to the lady as before. Mask each figure.


4.
Stamp
circus tent above couple as above and heat emboss. Stamp
musical stave to appear that the couple are standing on it. Mask.
6.
Place
Circle aperture over the masked images and secure at top with low-tack tape. (No photo for this)
7.
Load
Clarity brush with Spun Sugar and sweep around and over circle. Remove stencil.Replace with irregular aperture and sweep more Spun Sugar so the frilly edge is lighter than the regular circle.

Stamp frame between foot of pink circle and bottom of card.Stamp the 'Happily Ever After' sentiment. (Here I have placed the clean stamp on the stamped frame in the correct position.)

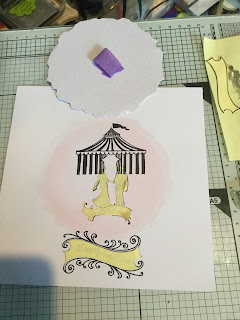
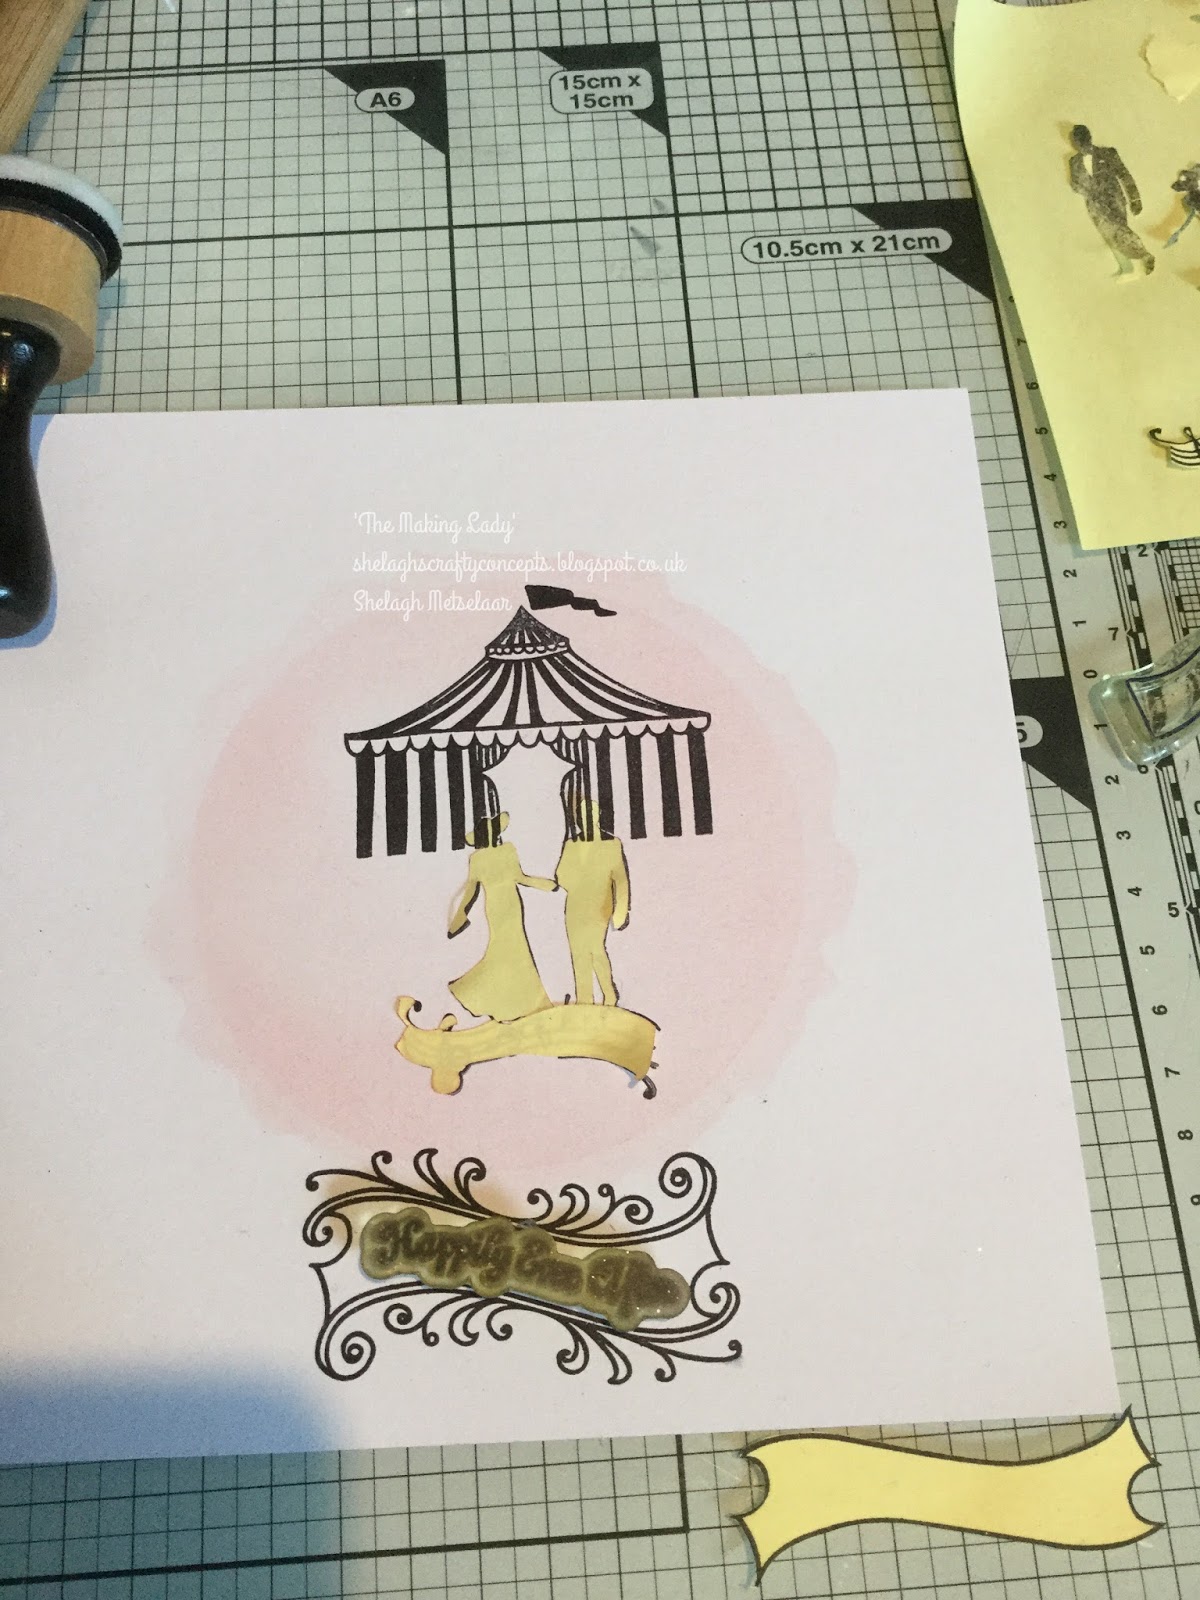
Stamp frame between foot of pink circle and bottom of card.Stamp the 'Happily Ever After' sentiment. (Here I have placed the clean stamp on the stamped frame in the correct position.)

This photo shows the mount placed over so it can be stamped in the correct position.
Mask.
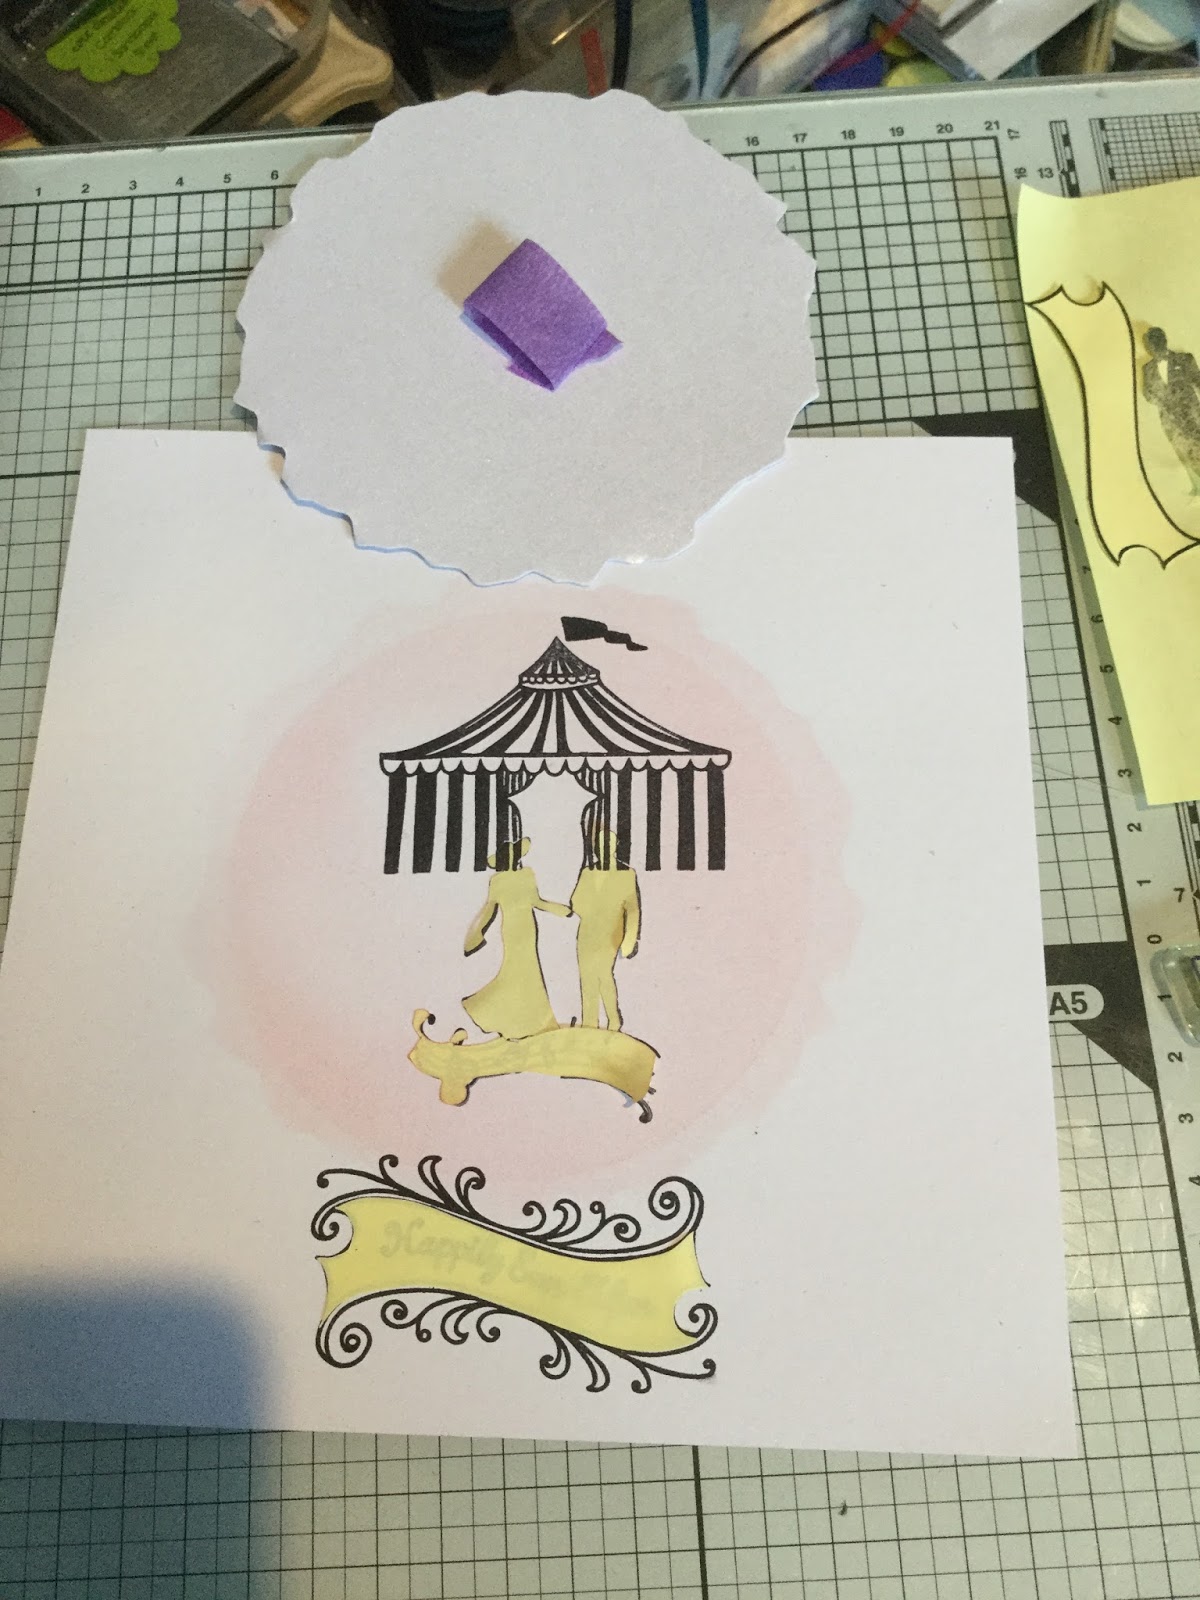
9. (N.B. I have misplaced the stencil 'innie' since making this card - we've had workmen in the house and things were 'put' away' - and writing my step by step so I made one by drawing round the inside circumference and doing a bit of fussy cutting.)


10. Remove aperture stencil and replace with
‘Irregular innie.’ (I made a loop with low tack tape, placed it on the reverse
of shape to secure.)
 Place over ‘Stripes’ stencil and sweep over more ‘Spun
Sugar.’ Remove ‘Stripes’ and replace again to complete the stripes on the card.
Sweep once more with ‘Spun Sugar.’
Place over ‘Stripes’ stencil and sweep over more ‘Spun
Sugar.’ Remove ‘Stripes’ and replace again to complete the stripes on the card.
Sweep once more with ‘Spun Sugar.’


11. Remove stencils and masks. Scribble an
outline around circle and irregular circle using a Micron pen. Decorate each line on the circus tent with scalloped edges using a Micron pen and draw a horizontal line at its base to 'ground' it. Add some tufts of grass to suit.


12. Edge with a black Sharpie or similar. Mount onto a square card or try out the idea below.
From here I
placed the ‘Circle’ stencil over another 7x7 sheet of Clarity stencil card,
lightly drew around the inner circumference then using a glass mat as a base,
cut out the inner circle with a craft knife. (Very unusual for me as I always
seem to drag the card layers but for once it was a success!!)


I then repeated
as before (twice – one for the inside and one for the front) with the ‘Stripes’
stencil, edged, cut back and mounted onto an aperture card which I’d cut to
suit. The vines were stamped in black for the inside and with Versamark and a
variety of pink ‘WOW’ embossing powders for the exterior.


Et Voila! 'Save the Last Dance For Me!!!'
I love this card and the wee folk. Xx
ReplyDeleteMany thanks, Carol - don't use them as oft as I should! They are the 'right fit' in lots of scenes. ;~}
DeleteBeautiful card, love the softness of the spun sugar, so elegant.
ReplyDeleteThanks Naomi,
DeleteThere is an anniversary it can be used for later in the year, only just paired it up! Duh!
Very clever and a fab design I too love the softness of the spun sugar and the lighter nights are now coming and this just reminds me of spring weddings etc xx
ReplyDeleteThanks Linda,
DeleteI wanted the lovely circus tent stamp to have another use, thought of a marquee and it all developed from there. ;~}
Thanks Linda,
DeleteI wanted the lovely circus tent stamp to have another use, thought of a marquee and it all developed from there. ;~}
The circus tent makes a great marquee. A beautiful wedding/anniversary card that really demonstrates the usefulness of masking. x
ReplyDeleteThanks, Lesley. I tried a number of things before settling on this one. ;~}
ReplyDeleteLike how you have done your card the shape makes it xx
ReplyDeleteThanks, Julie. Finding the centre of the card for the scene was the most difficult part but could easily have been done on a 6x6 as an easier option. ;~}
DeleteWhat a great card and fab step-by-step Shelagh.
ReplyDeleteQuite romantic and suitable for lots of occasions. X
Thanks, Carole. I'm on a mission to use stamps already in my collection and this was a way to bring three unconnected sets together. I also hope it leads Challenge followers to look at the Clarity website and view all on offer. ;~}
DeleteBeautiful card Shelagh; so much work and attention to detail. Worth it though; its a real stunner. Xxx
ReplyDeleteThanks, Barbara. I wanted to use stamps I already had to create a suitable scene and link 'odd' stamps together, really to show the versatility of Clarity products. ;~}
ReplyDeleteJust beautiful Shelagh and your instructions are great too. It must have taken you a while. x
ReplyDeleteThanks, Angela. This was a real treat to do as the idea was there from the start and did not deviate hugely from the pencil sketch. ;~}
DeleteThis comment has been removed by the author.
ReplyDeleteThis comment has been removed by a blog administrator.
ReplyDeleteHiya My dear. What an absolutely fabby card. Excellent example of the technique. What a lovely blog too. Xxx
ReplyDeleteHi Emma,
ReplyDeleteThank you, my friend. You are very generous with your lovely comments. I 'kinda' like this one, too.;~}
This is lovely Shelagh, thank you for sharing the pictures and how to!xx
ReplyDeleteThis is lovely Shelagh, thank you for sharing the pictures and how to!xx
ReplyDeleteHi,
DeleteThank you for your kind comments. This example is a total antithesis to my mid-month one which comprises ONE stamp. It's great to create mental pictures and then somehow, bring them into reality. ;~}